Well, I’m still working on trim in the bedroom, and it’s still not finished. But I made quite a bit of progress over the weekend, and I’m still feeling really motivated and excited to get in there and get this trim finished.
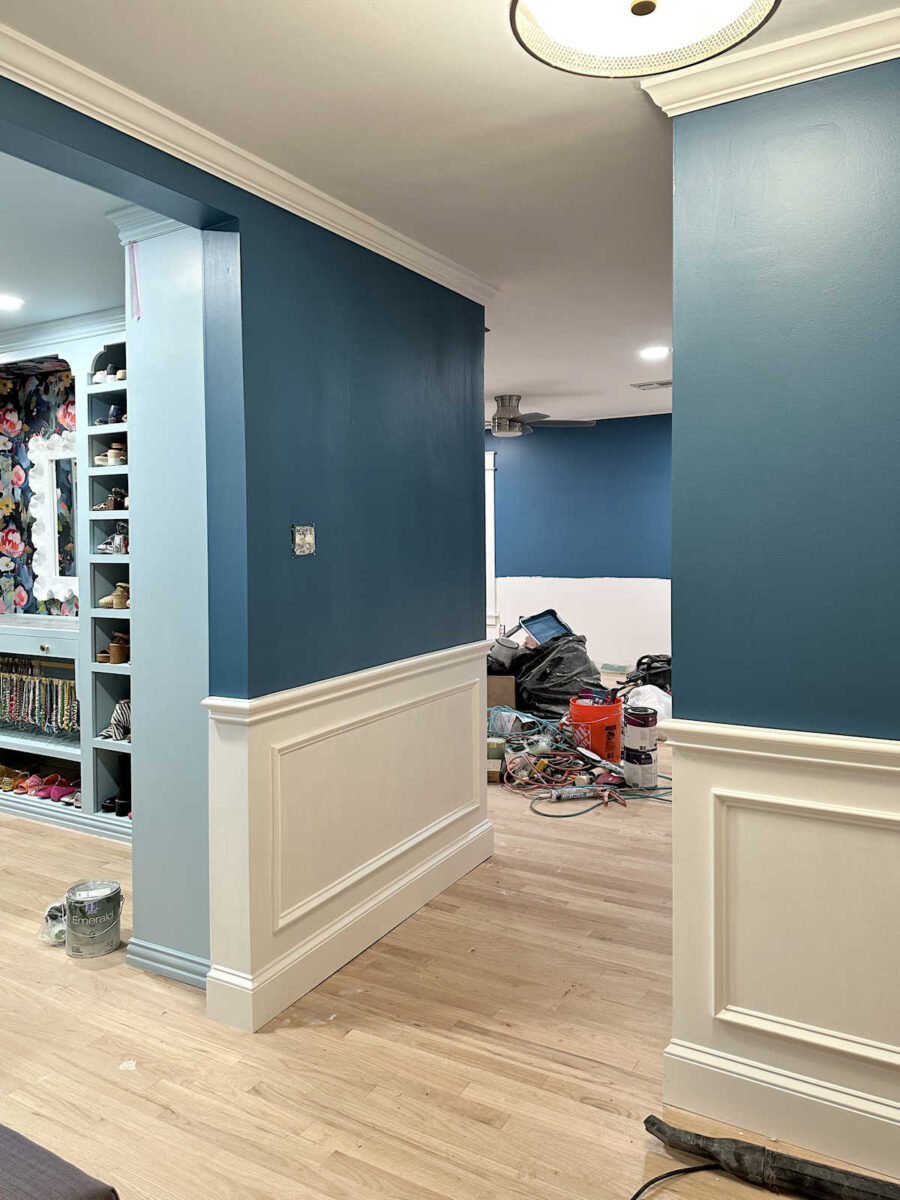
My first priority this weekend was to get all of the picture frame molding cut and attached, so that’s where I started. Once all of that was installed, and I started filling the nail holes with wood filler, I then needed to decide what to do about this large gap at the bottom of this wall. That’s not only a vertical gap between the bottom of the baseboard and the floor, but it’s also a gap between the front edge of the baseboard and where the flooring starts. So I knew that this would require something much larger than a simple shoe molding or quarter round molding.
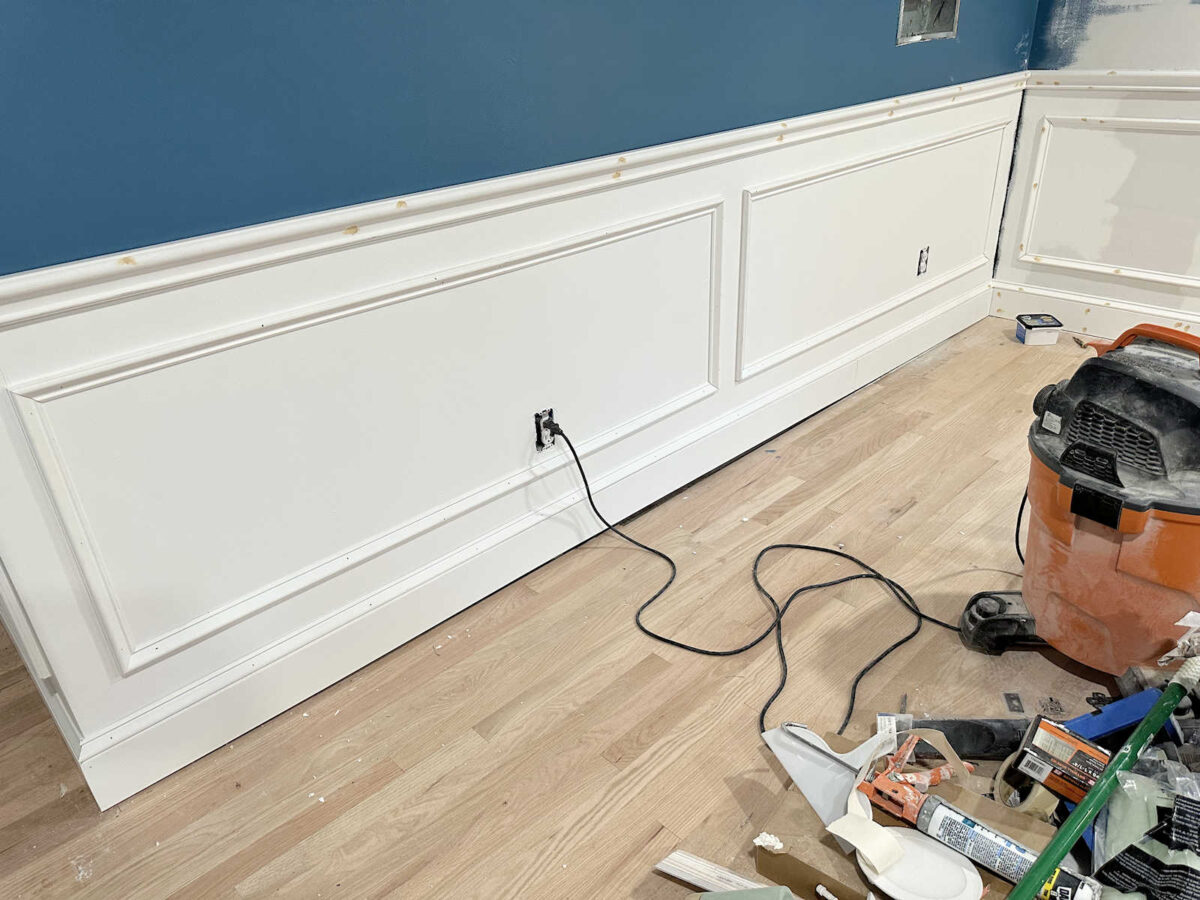
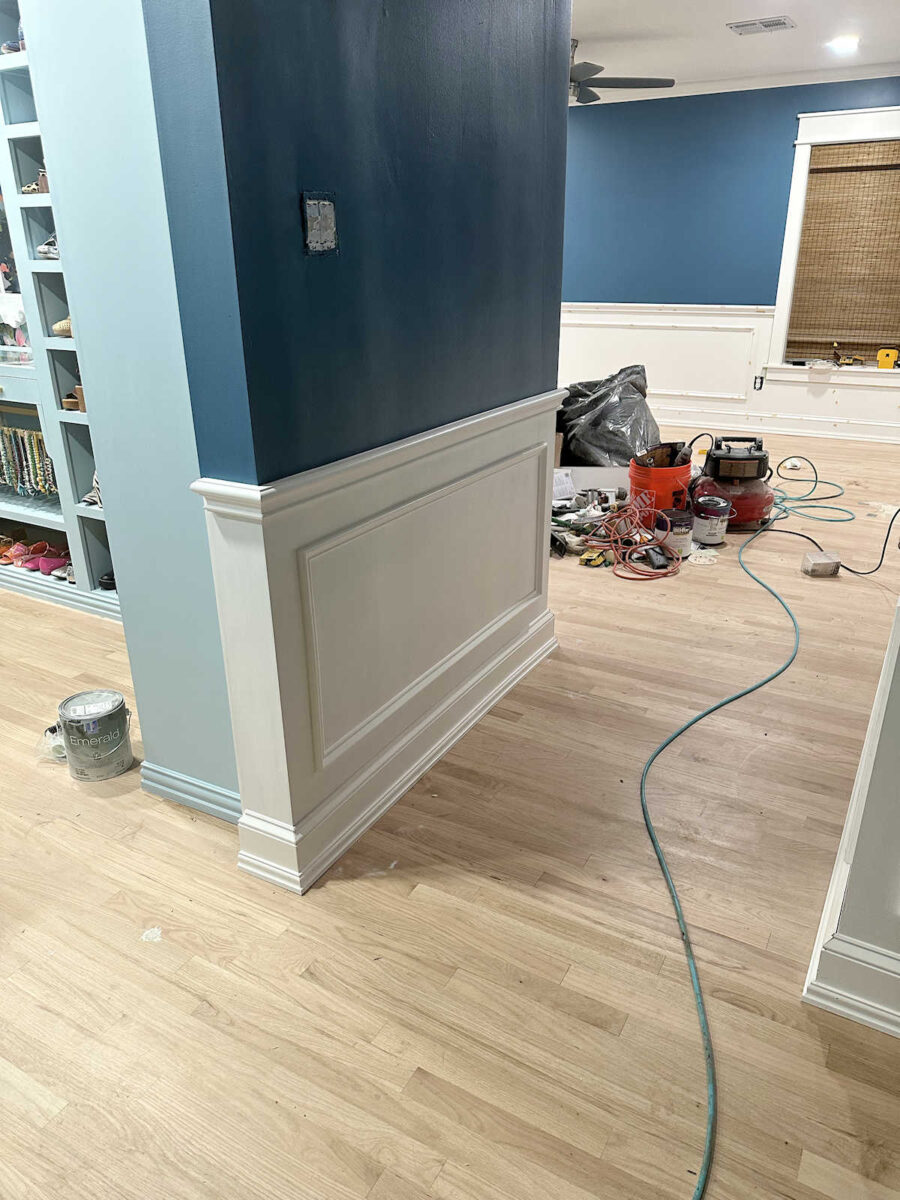
I looked at a few options at Home Depot, but it didn’t take me long to realize that the best option would be one of my favorite trims from Lowe’s — this PVC shingle molding that comes in 8-foot lengths. When installing it, I had to split the difference vertically, so there’s still a small gap under the trim. I’m not sure yet if I’ll leave it as is, or if I’ll caulk underneath it so that the white meets the floor. But I think it looks so much better now. And I love the look of that trim and how it adds a bit more elegance to the wainscoting.
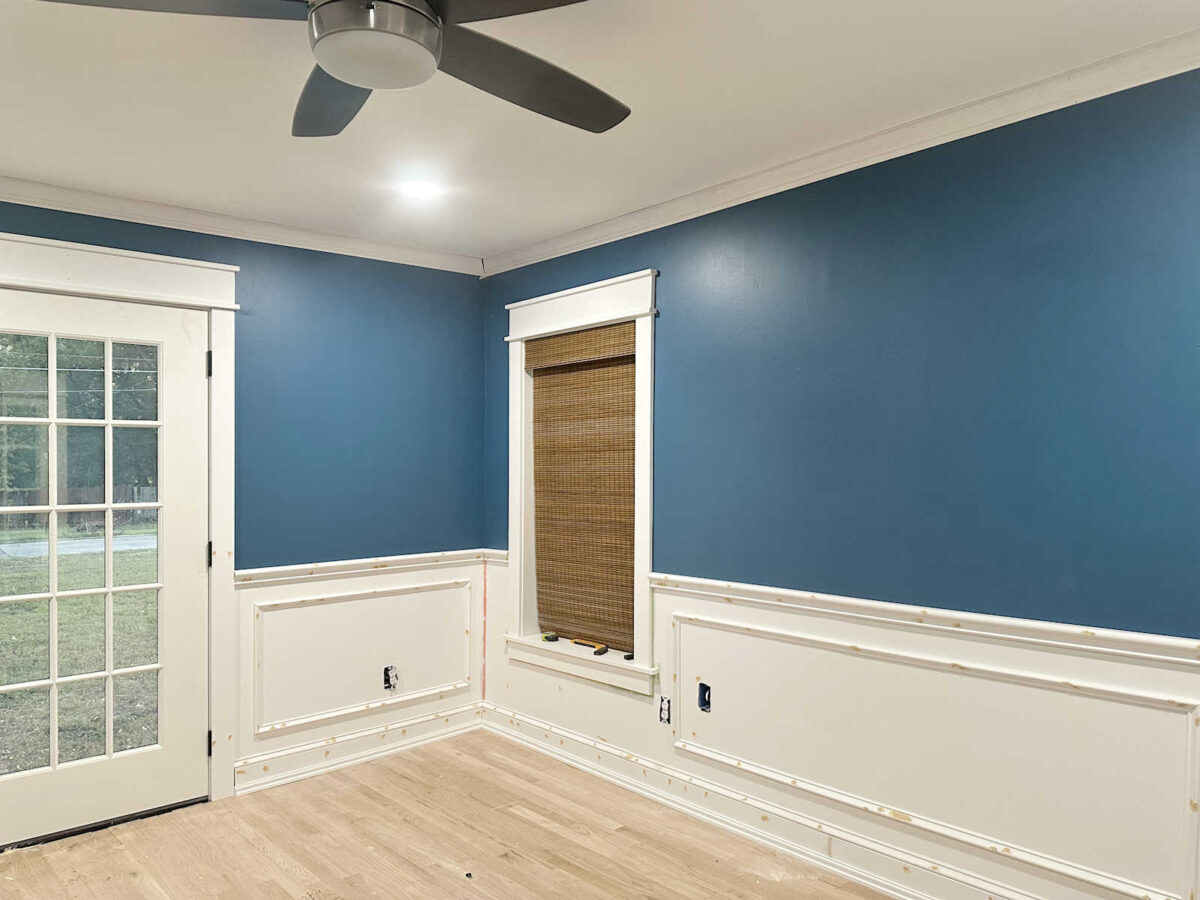
And since I was adding it to the bedroom, that meant that I also had to add it to the foyer. I was a bit frustrated having to go back to an area that I thought was finished and having to do more, but I’m so glad I did. I think that bottom trim adds such a beautiful finishing touch. Here’s what this area looked like before the trim.
And here it is with the trim along the floor. I think it really finished it off nicely.
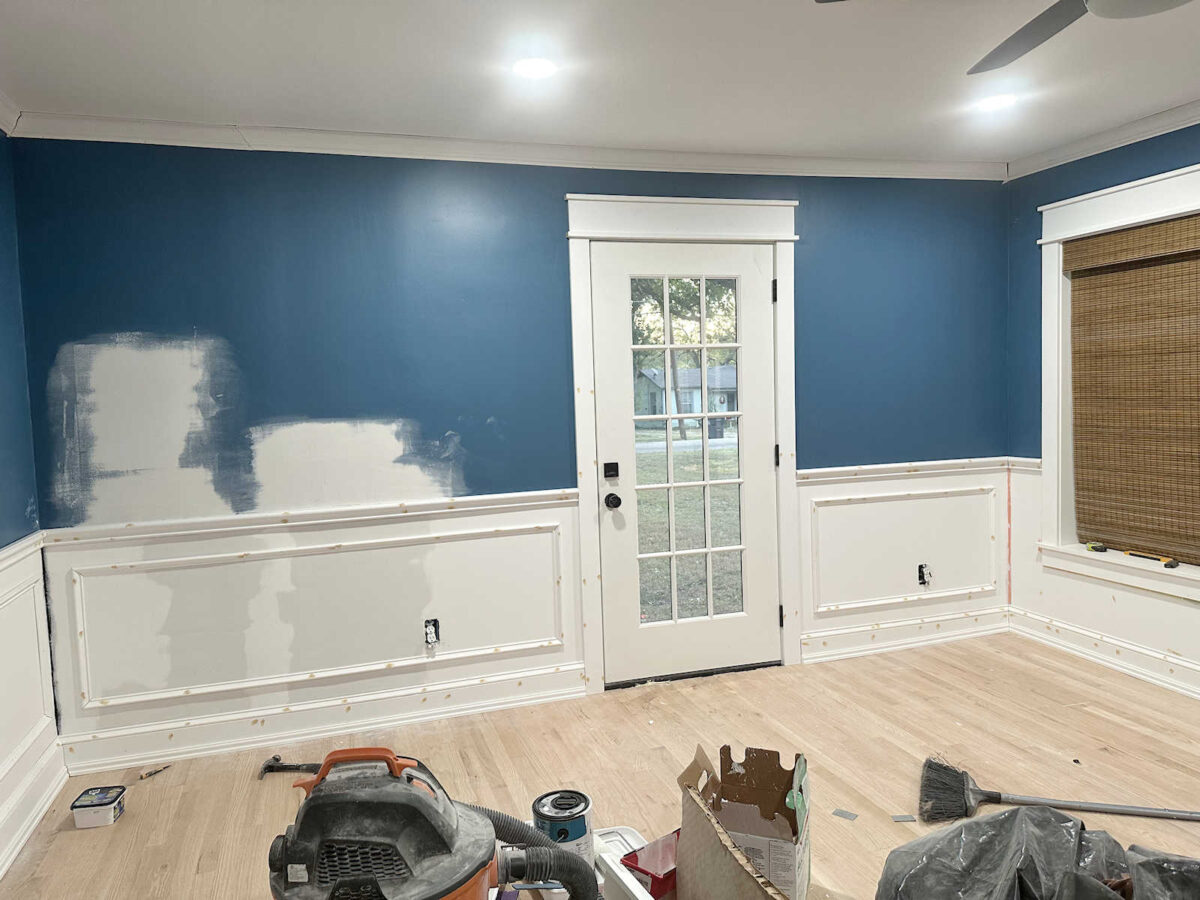
Here’s another reminder of how the wall with the bathroom door looked last week before I added the picture frame molding and the bottom trim…
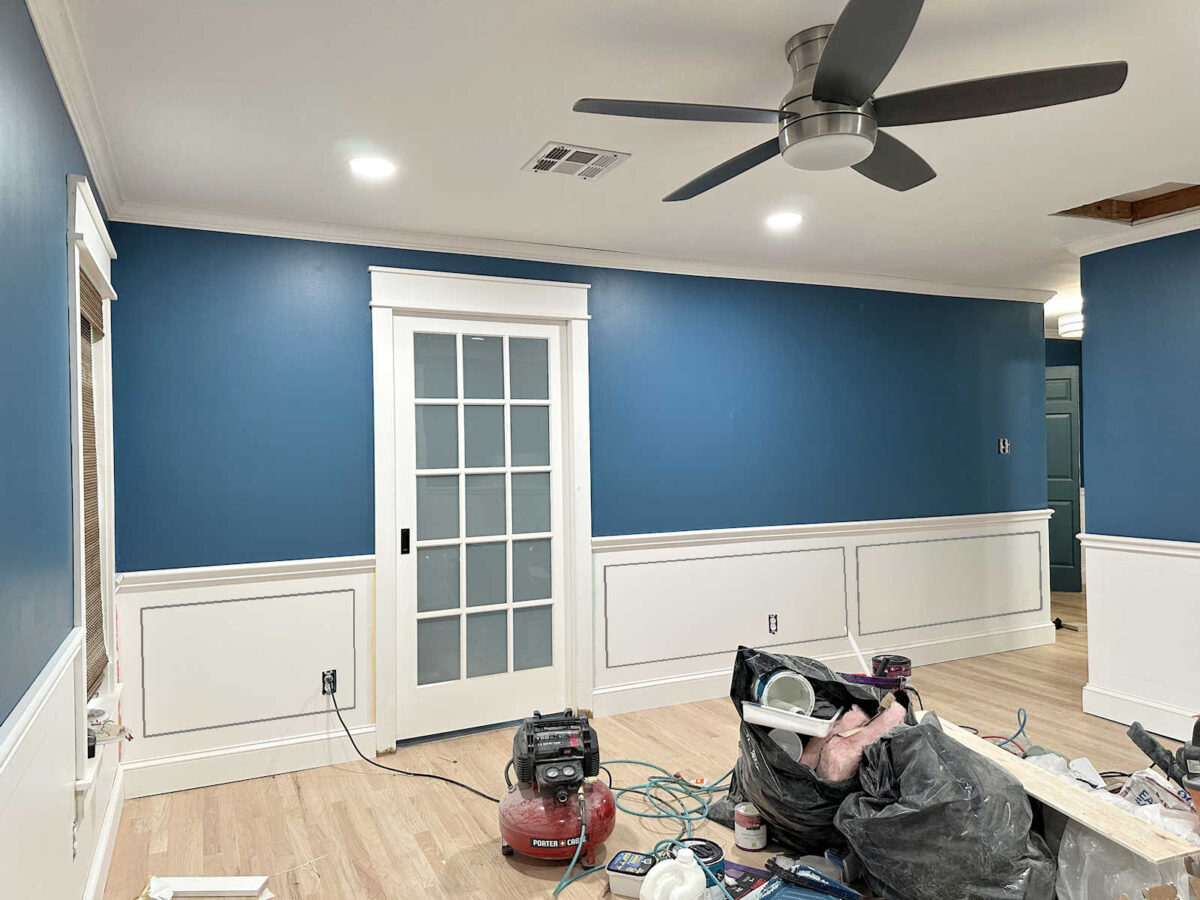
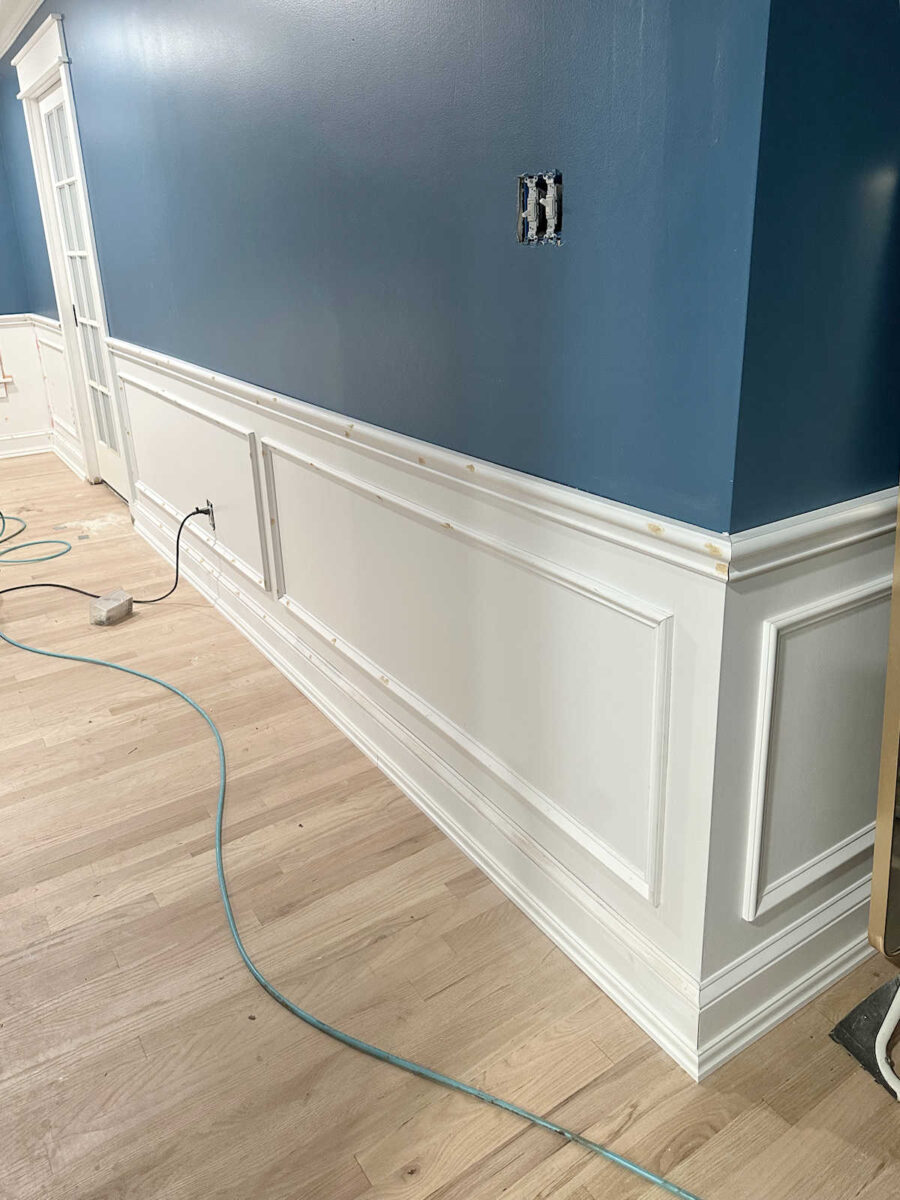
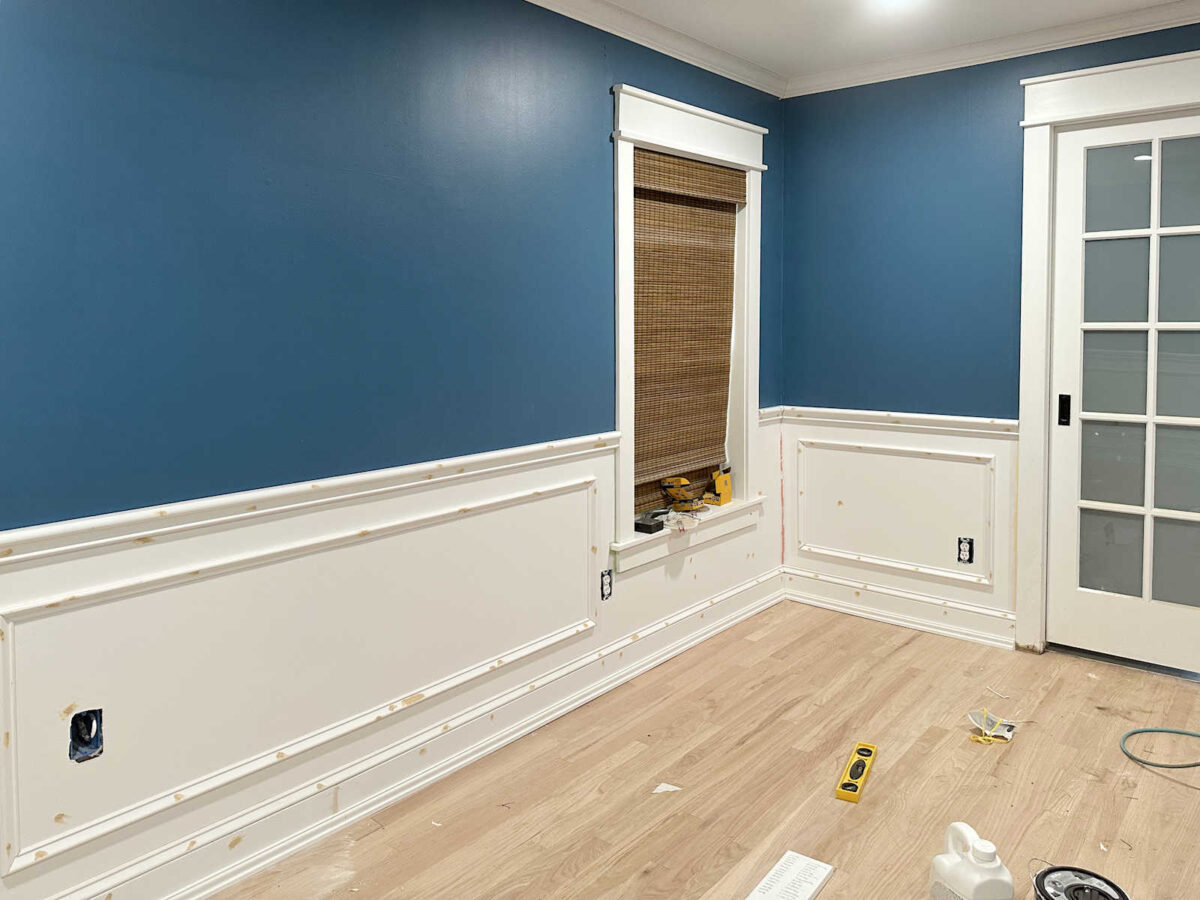
And here it is with all of the trim installed. I’m still working on sanding all of the wood filler on the nail holes, and then I’ll just need to caulk and paint.
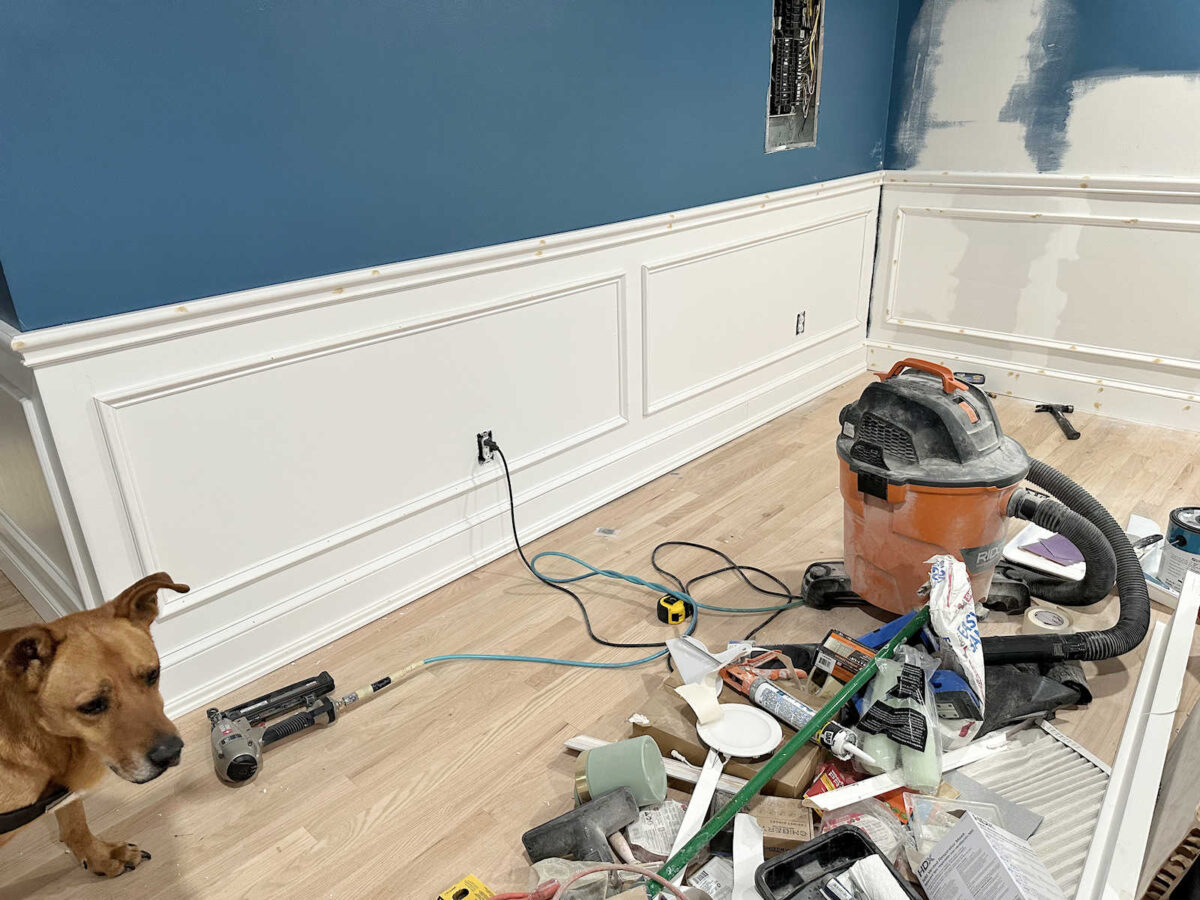
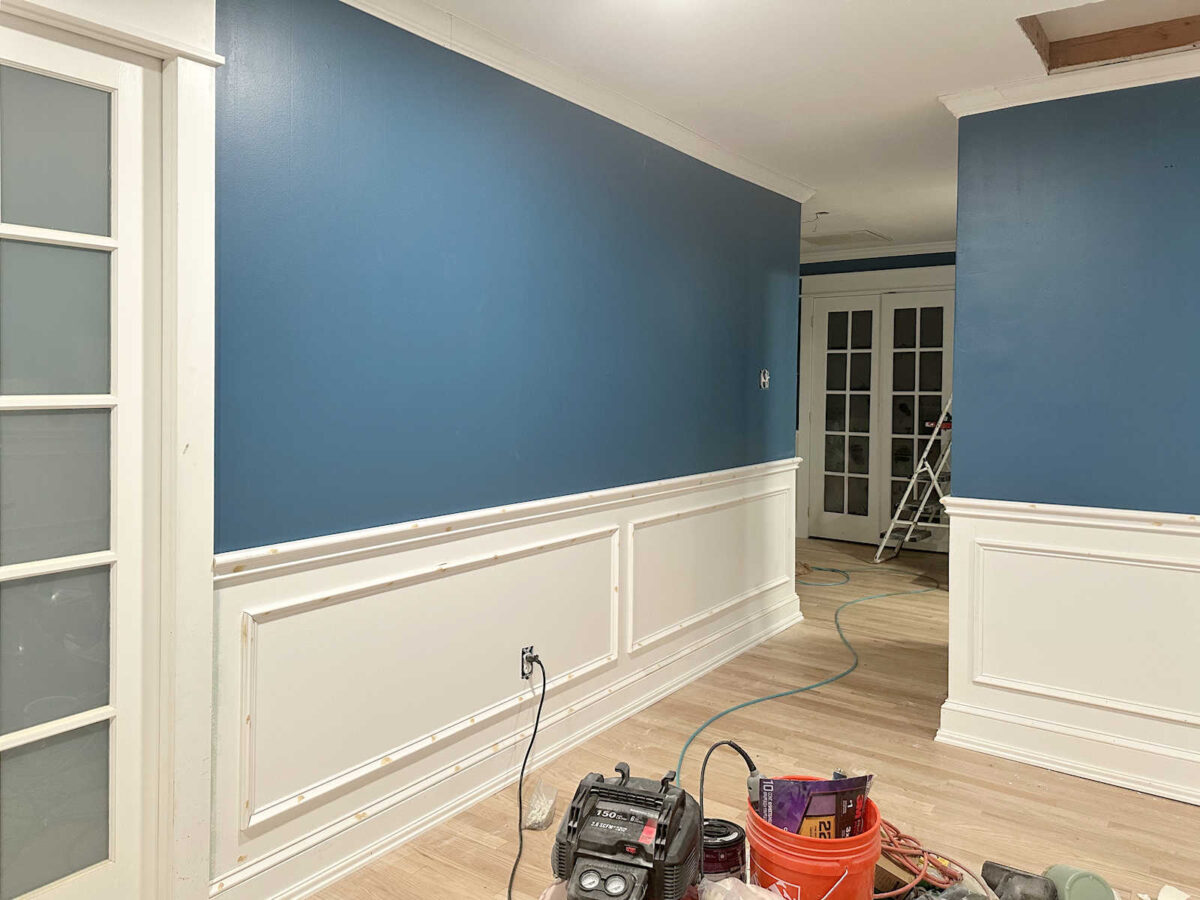
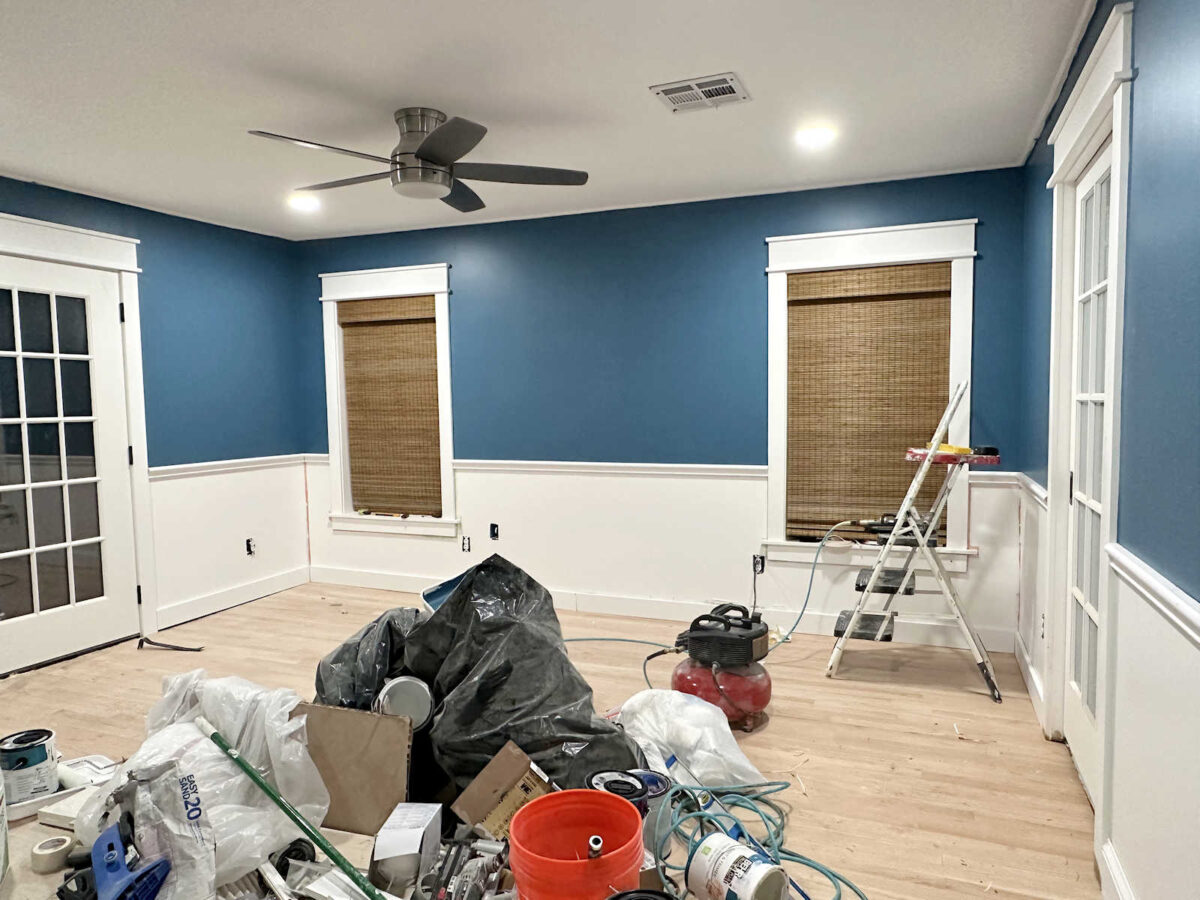
This wall is still a mess, but at least all of the trim is installed. I decided to wait on the priming and painting on the areas where I had to do so much repair on the wavy wall. I was going to do it before, but I just wanted to get the trim on and not have to wait for primer and paint to dry first. Since I still have to do so much painting, it won’t be a big deal to prime and paint that area when I’m painting the rest of the trim.
This corner is still a bit of a mess, but it’s so much better than it originally looked. And once the draperies are up, that high corner will be hidden anyway, so I’m not really worried about it.
So I did get a lot done, but I’m now stuck on the slow part — all of the wood filling, sanding, and caulking. But at least I see that bright light at the end of the tunnel, and I’m still feeling very encouraged and motivated.
And I’m feeling a huge sense of relief now that I know this wall will actually look decent when it’s all said and done. I was very concerned that I would never be able to disguise that unlevel floor, but I don’t think it looks bad at all.

In fact, I think it looks pretty amazing considering what I had to work with (i.e., the most unlevel room in our entire house).
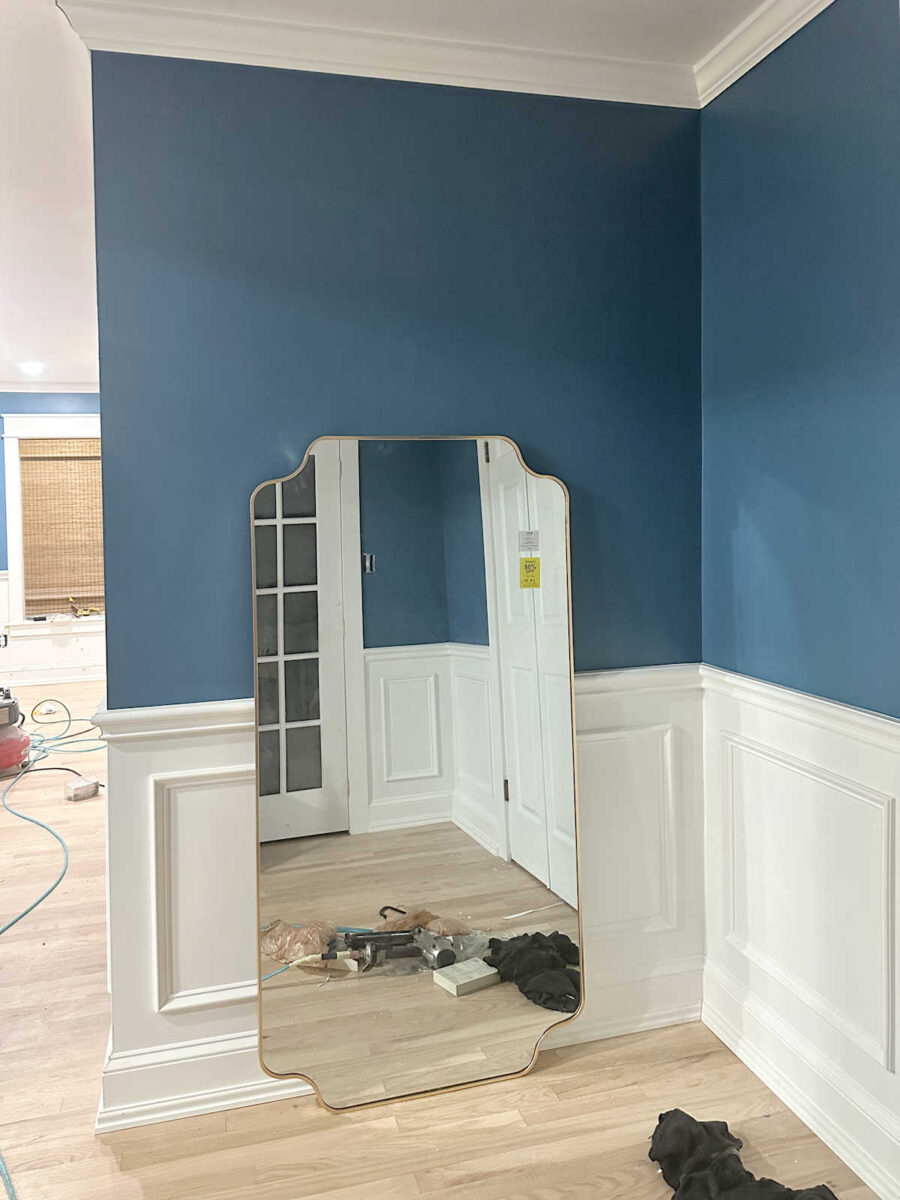
And in other news, I finally brought the new mirror in to see what it will look like in the foyer. I think it’s going to be so pretty! I just need to get the wiring run for the sconces that will flank the mirror.
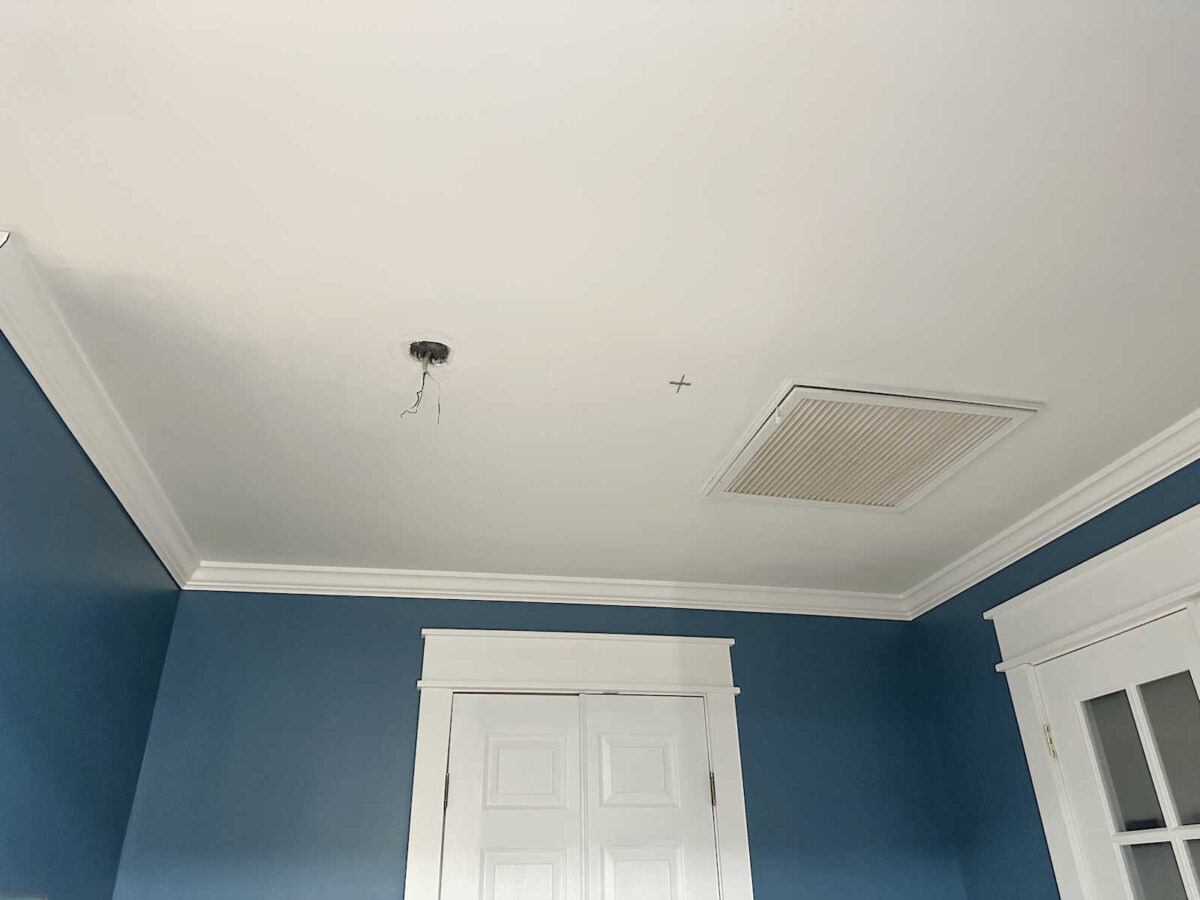
And I also started to move the ceiling box for the new light, and then I realized that before I install the new light, I’m going to have to turn the vent on the HVAC intake duct so that it opens from the other side. If I keep it as it is, it’s going to open right onto the new light. So that’s one more project added to my “to do” list. Hopefully, it will be an easy fix.
So that’s the progress! Having to take the time to go and purchase that bottom trim and then cut and install it definitely slowed me down, but I’m so glad that I did it. I think that new trim is the perfect finishing touch for the wainscoting. It really took the overall look of the wainscoting up a notch while going a long way towards hiding some problem areas.
I felt pretty confident that it would all work out in the end, but I have to admit that I was having some doubts during that “in between” stage as I was working on the wainscoting. At one point, I thought I had made a huge mistake with my decision to add wainscoting to these areas, but persistence and creative solutions have paid off. Hopefully, with those issues solved, I can get these walls completely finished in the next couple of days.
More About Our Master Bedroom
see all master
bedroom diy projects

read all master
bedroom blog posts

Addicted 2 Decorating is where I share my DIY and decorating journey as I remodel and decorate the 1948 fixer upper that my husband, Matt, and I bought in 2013. Matt has M.S. and is unable to do physical work, so I do the majority of the work on the house by myself. You can learn more about me here.
Trending Products