I’ve been working on my new lamps over the last couple of days, and while I didn’t quite get both of them finished, I did at least get one finished. I may make some tweaks, which I’ll explain when I show you what the lamp looks like so far. But even without those tweaks, I’m so excited about how it turned out.
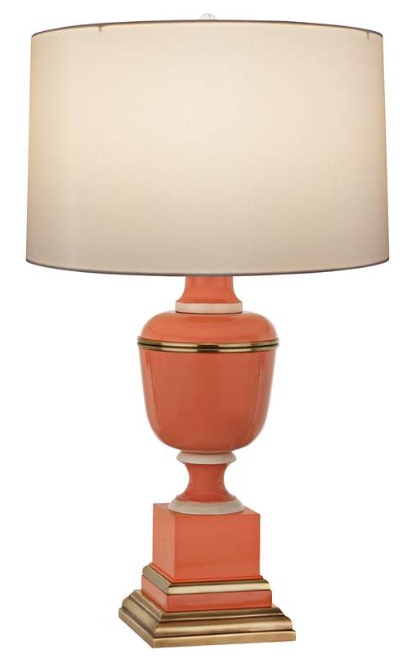
So after a pretty exhaustive search for a lamp that I could work some DIY magic on to make it look similar, I finally found two of these lamps on Facebook Marketplace for the amazing price of $40 for both.
I actually liked the shape of these better than the original lamp, so I was excited to find them. But because of my excitement over the shape and size, I overlooked just how heavily textured they were.
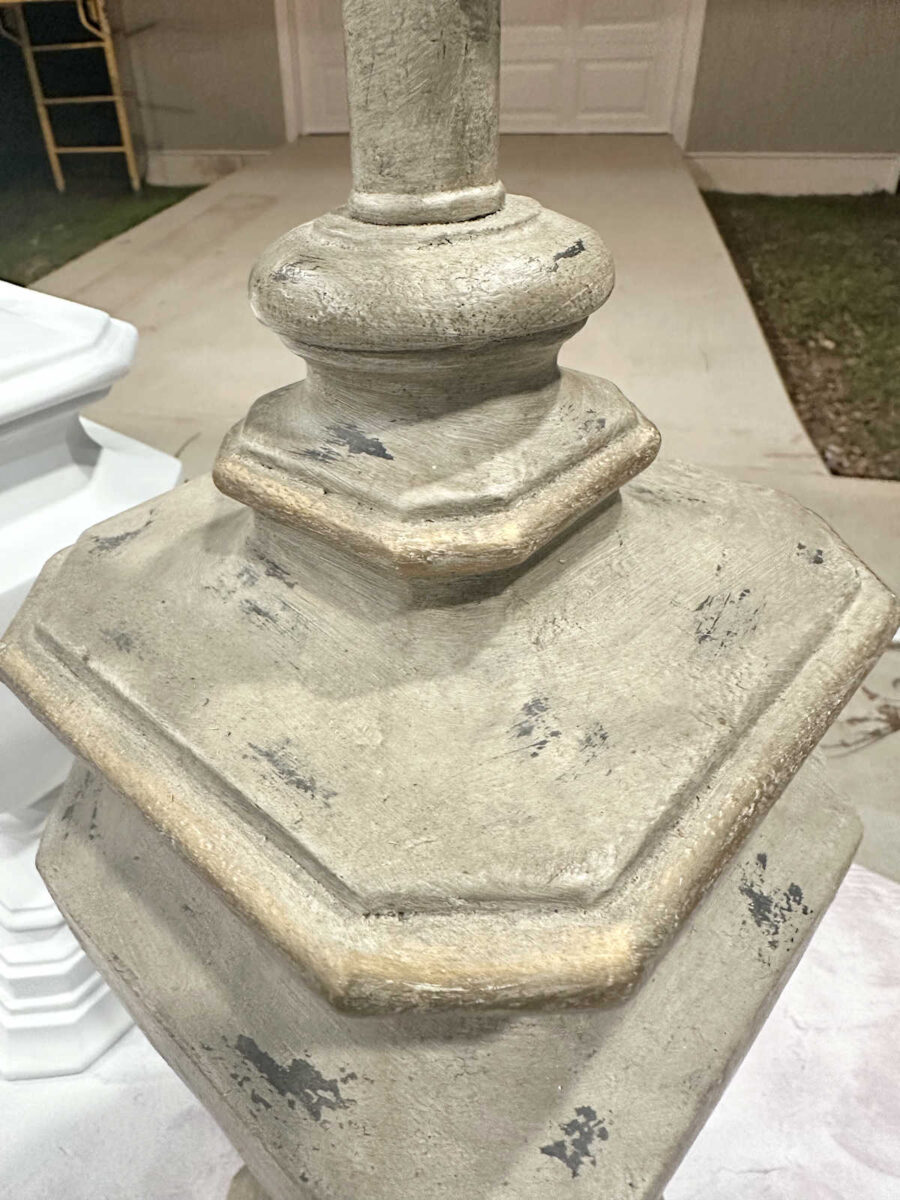
So they required quite a bit more prep work than I had anticipated. But after a lot of sanding, I finally got all of that heavy texture smoothed out so that I could paint them. I did most of the sanding by hand with 80-grit sandpaper followed up by 220-grit sandpaper. But I did use my orbital sander for the larger flat areas. I tried using my Dremel with a detail sanding attachment for the smaller areas, but it was too powerful, making it way too easy to dig into the actual resin. After it was sanded smooth, it looked like an even bigger mess, but at least I had a smooth base to work with.

Then I gave it two coats of primer. I used Zinsser oil-based primer in the spray can. Here’s a look at the original next to the sanded and primed lamp base.

It’s not perfect, but I was able to be a pretty nice, smooth finish on it.

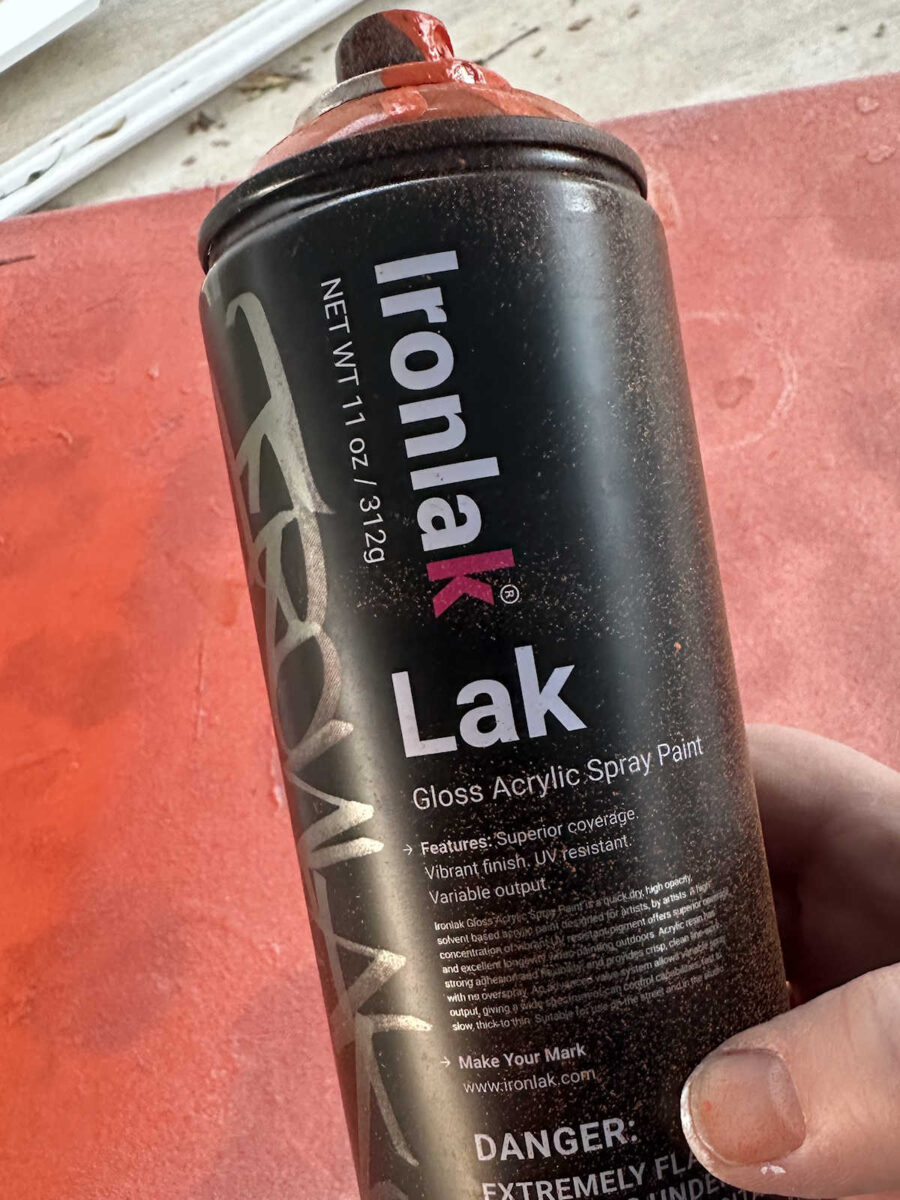
I wasn’t sure if I’d be able to find the perfect orange, but I did! I’ve never used this brand of spray paint before. It’s called Ironlak, and I found it at Michael’s.
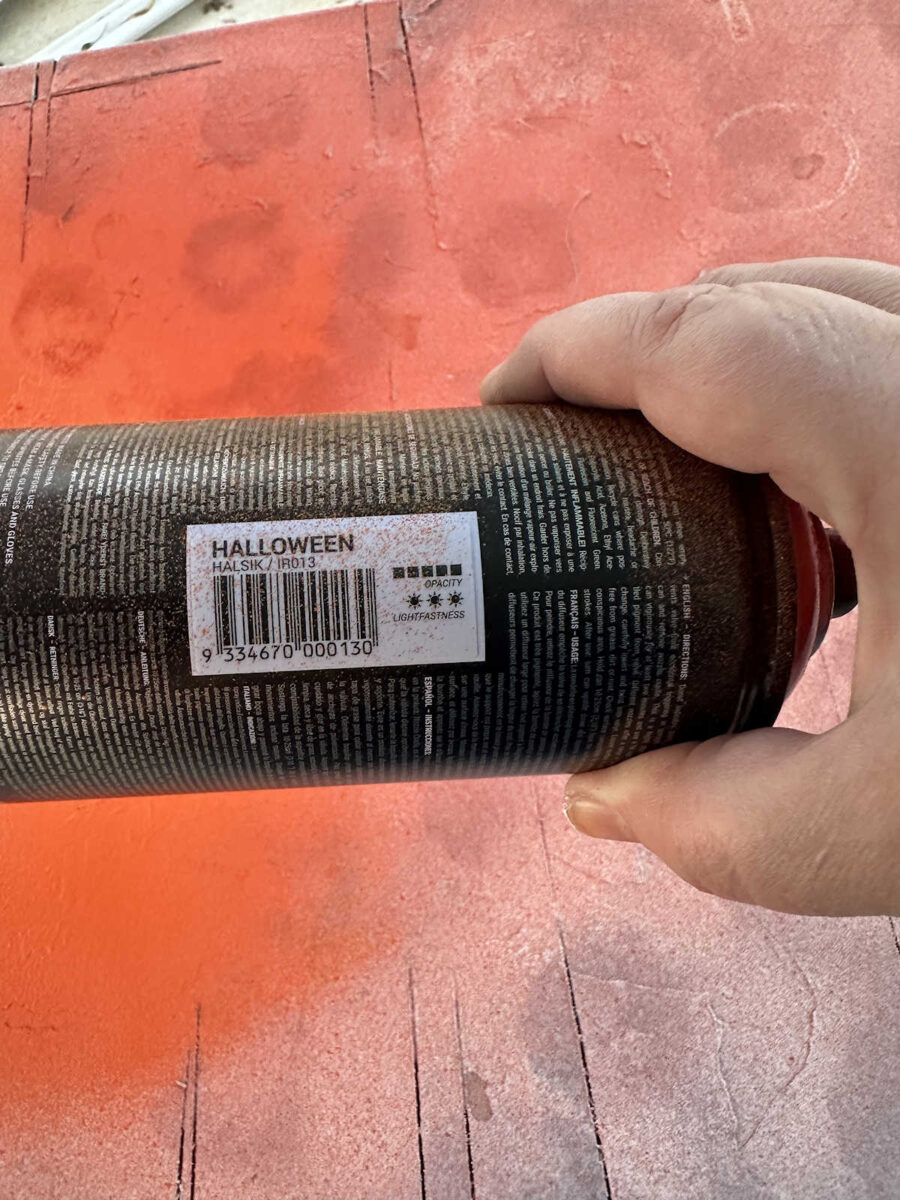
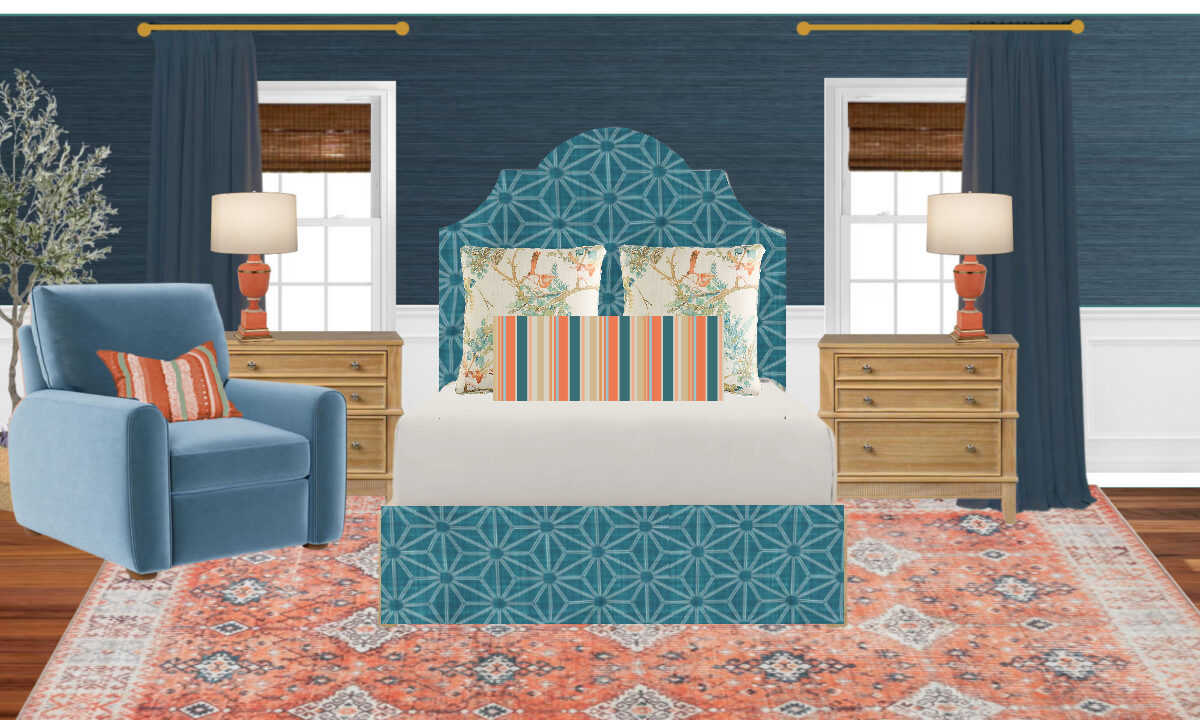
I couldn’t believe how close it was to the orange/coral color in the bird fabric and the coffee-dyed trim for the draperies. The color I used is called Halloween.
I gave it about two coats of paint, let it dry for an hour, and then brought it inside to paint the details.
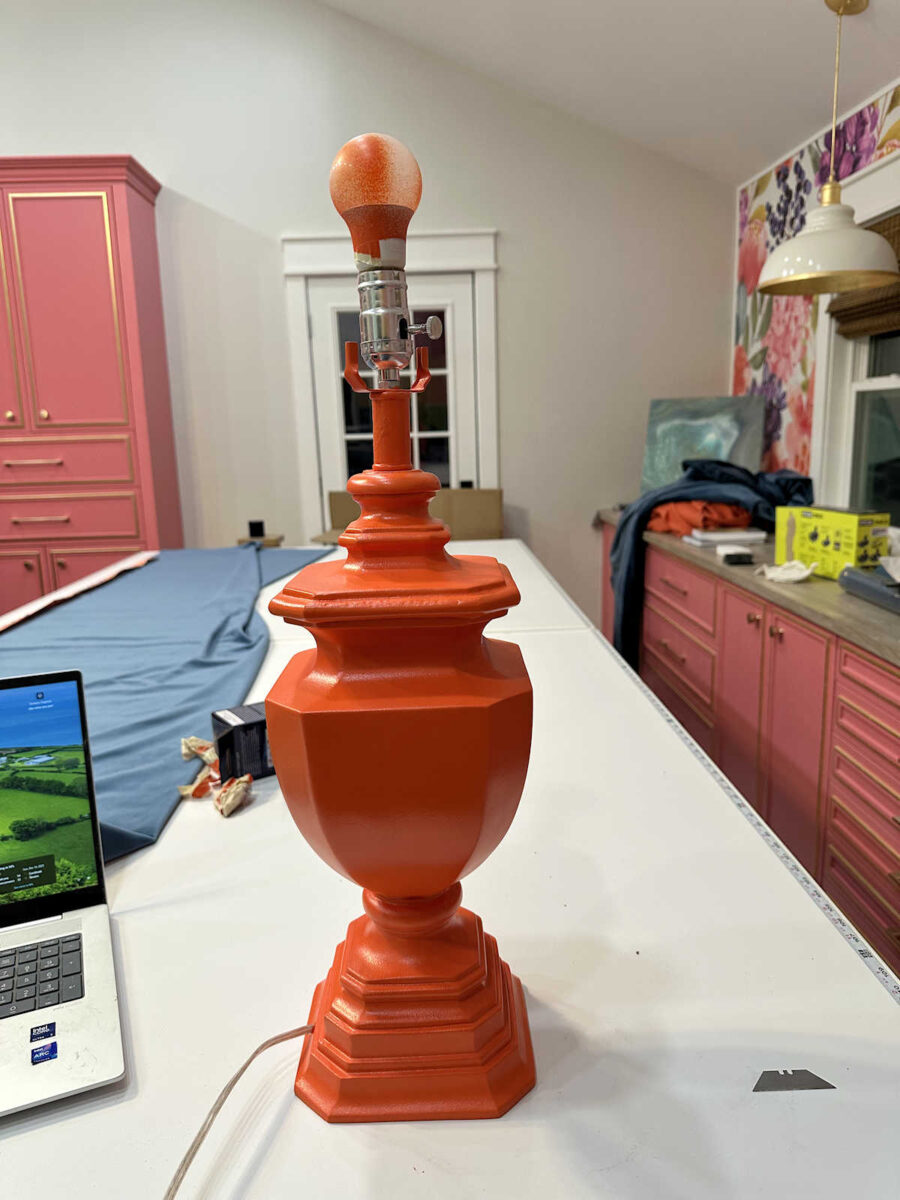
For the gold accents, I used this liquid gold gilding. This is the Martha Stewart brand, which I’ve had for probably two years now. I don’t even think it’s still available.
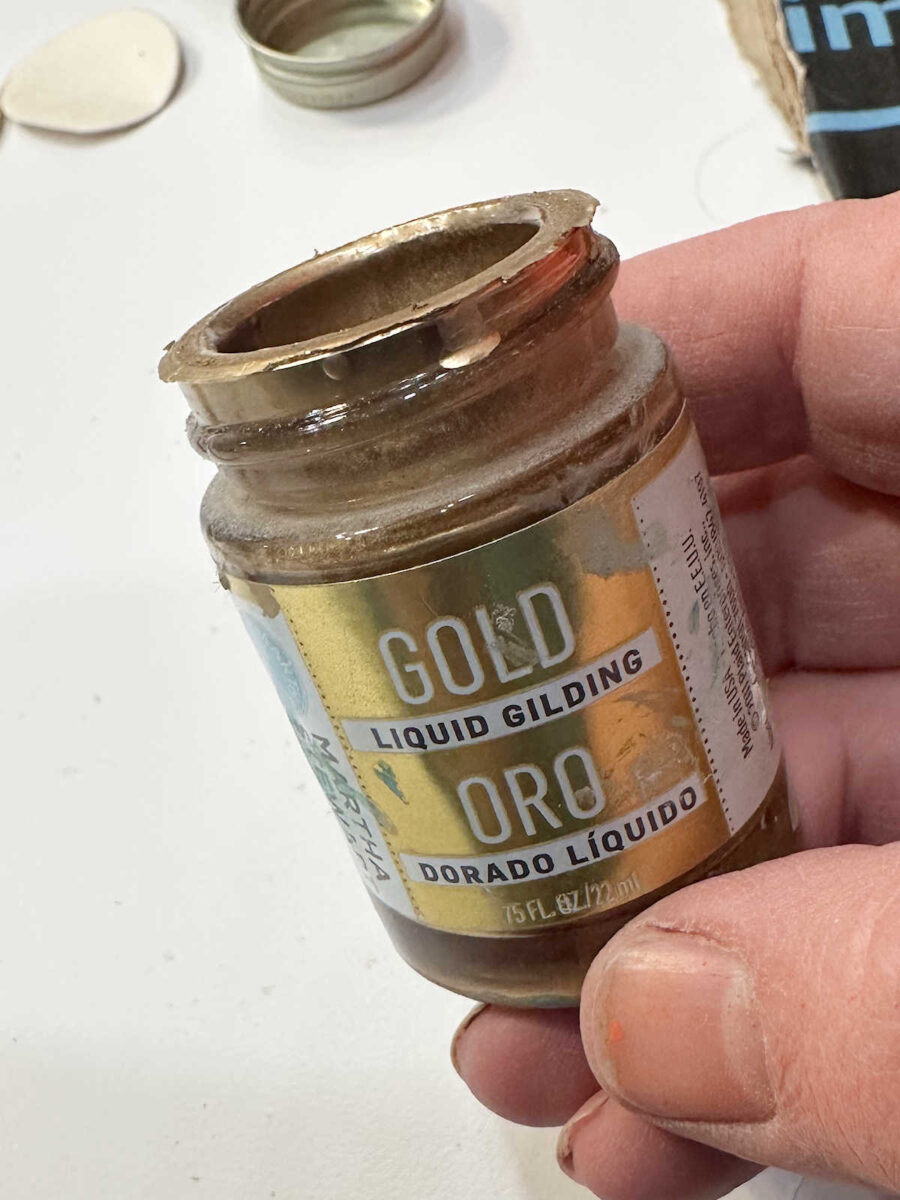
I used a small, flat craft paint brush to paint the gold gilding onto select areas of the lamp base, and then I used regular latex paint in my go-to white (Behr Polar Bear) for the white areas.
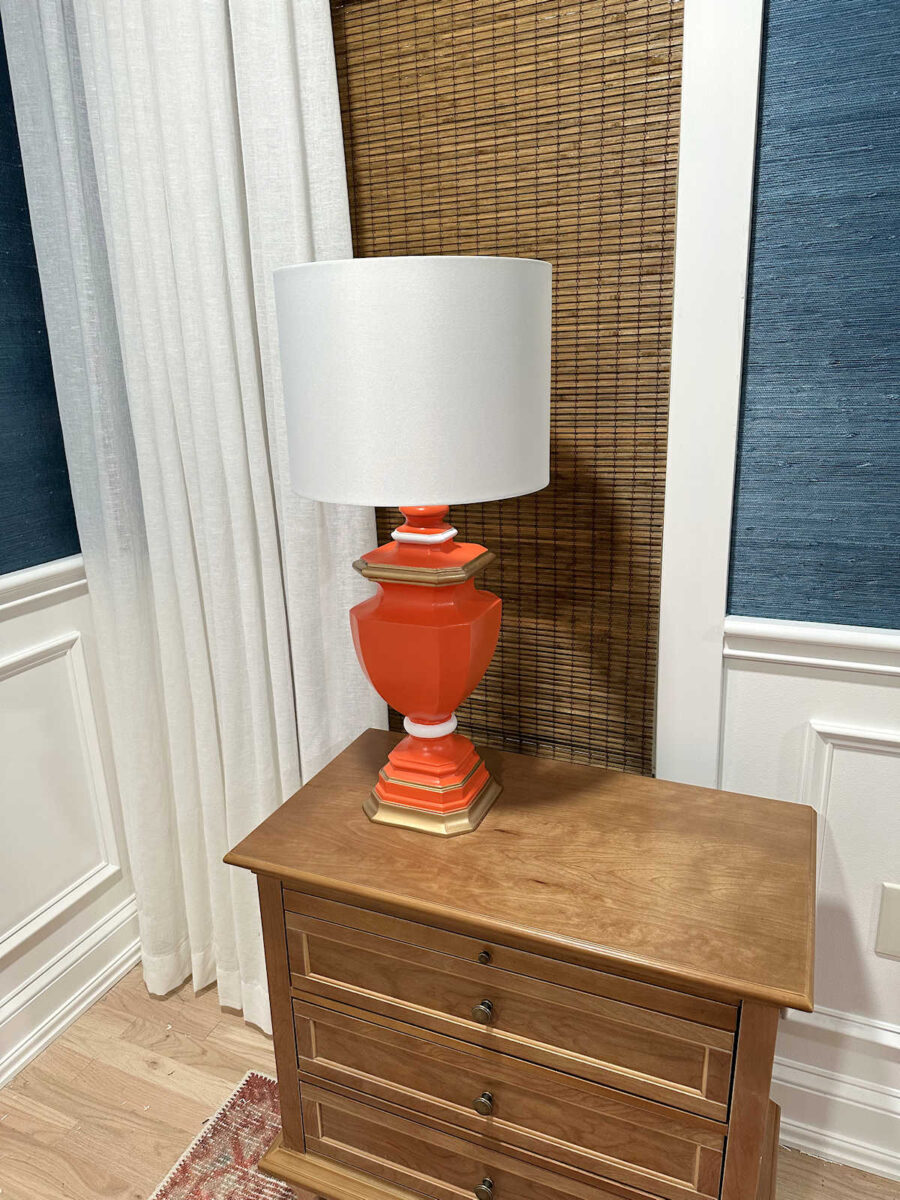
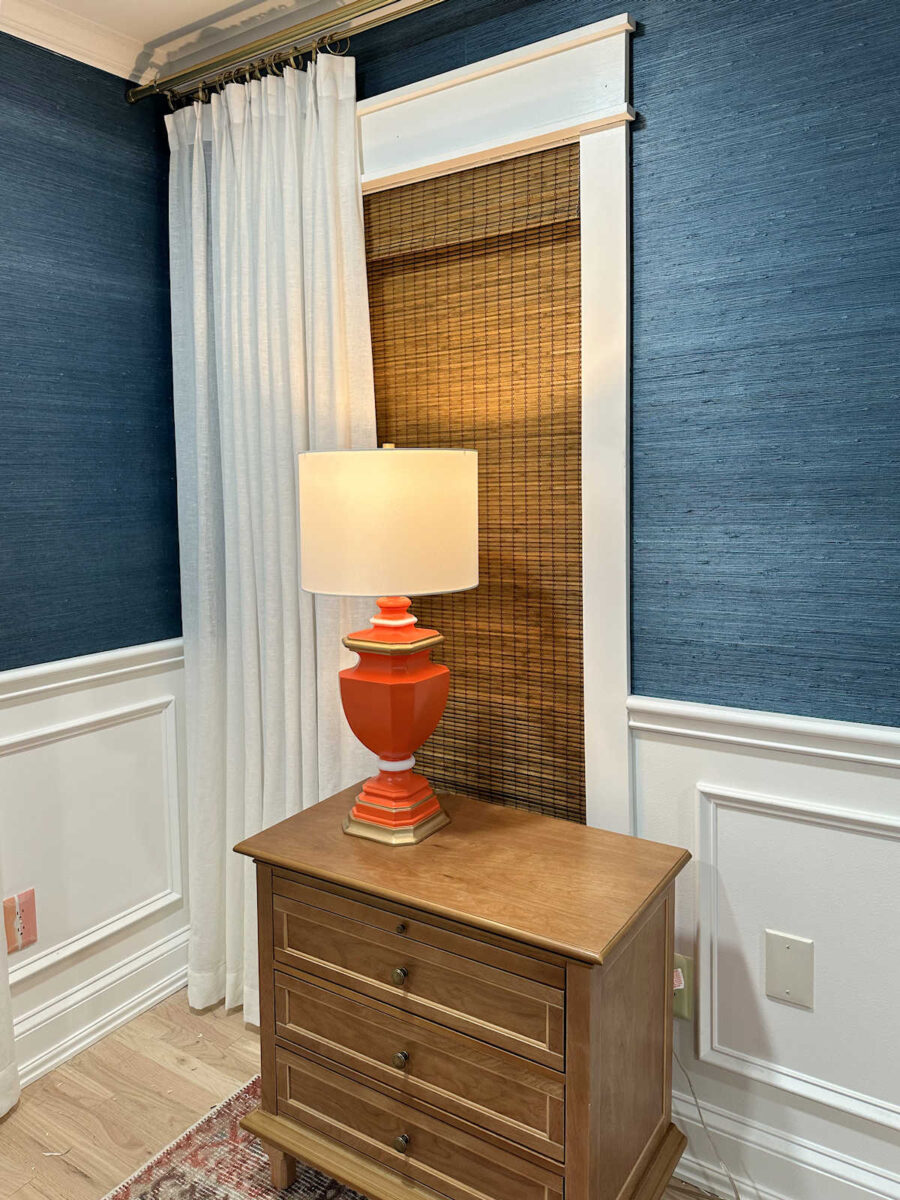
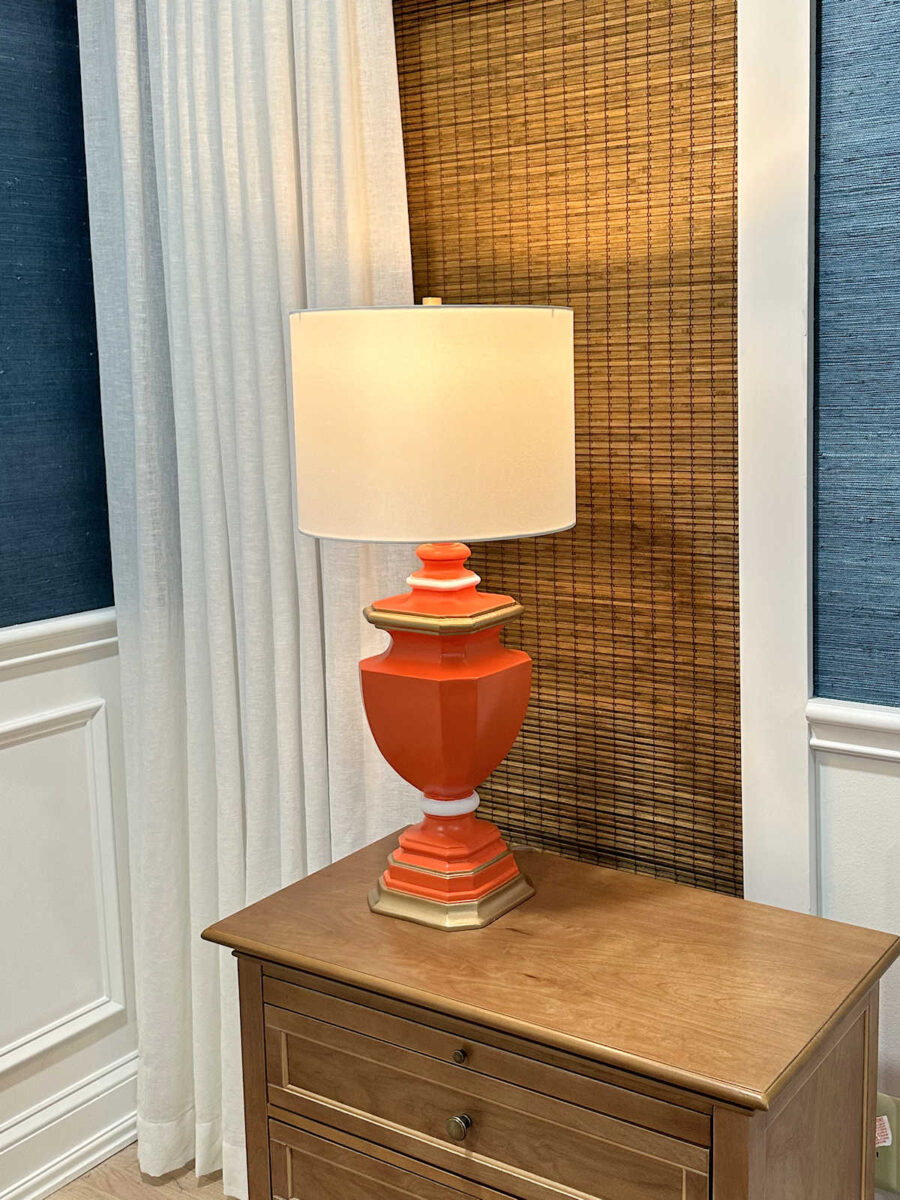
Once those accent areas were painted and dry, I added a new lampshade that I found at Lowe’s, and it was finished. Here’s a look at the lamp with its new look.
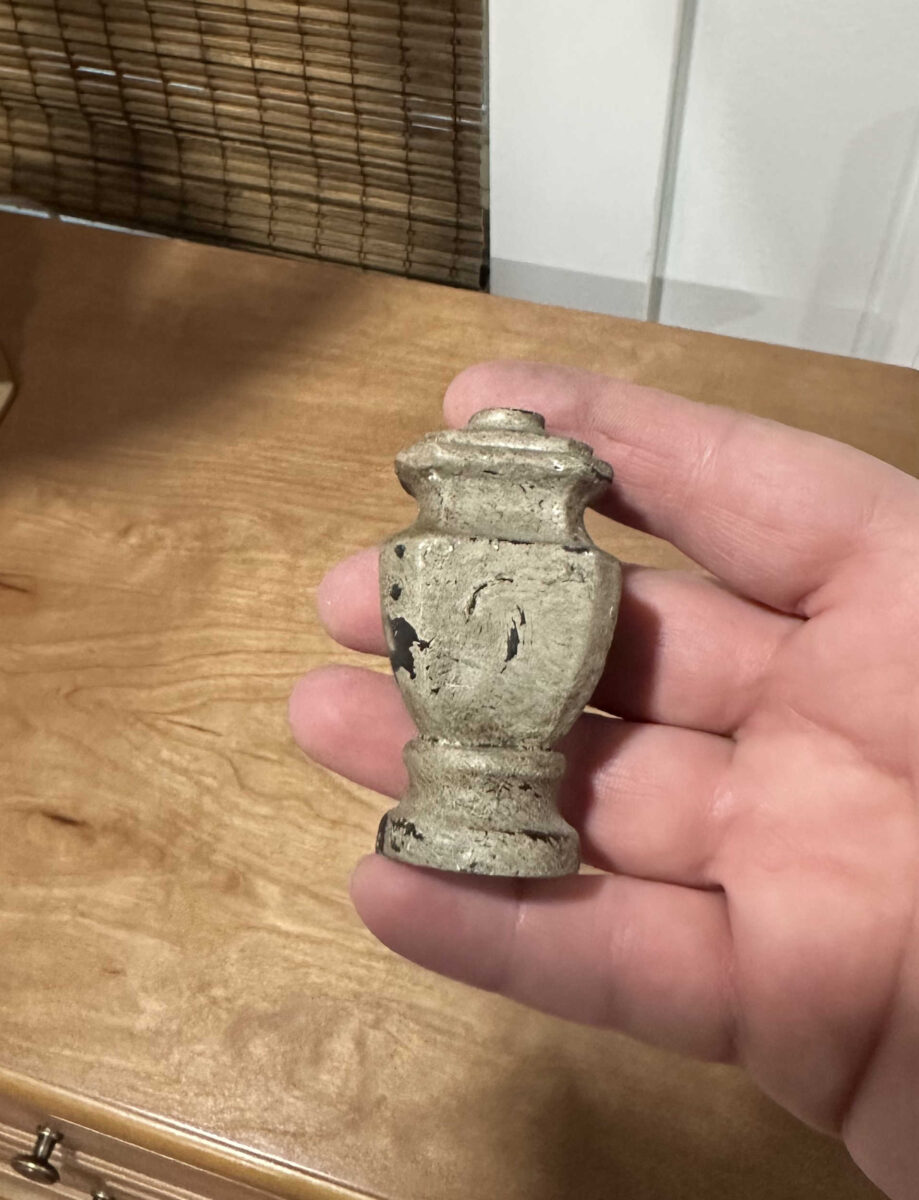
I ended up not using the original finials. I thought they looked too big and bulky, so I opted for new smaller gold finials that don’t draw so much attention. These original finials were just a bit much for me.
Overall, I’m really pleased with how this lamp turned out. I might make a couple of tweaks to it, though. First, I’m not sure that the liquid gold gilding is shiny enough for my taste, so I might go back and add gold leaf to those areas. Also, I think my go-to white paint color is a bit too white. I might need to find another white that isn’t quite so bright for those areas. But I think after I make those tweaks, it’ll be perfect!
And the total cost for each lamp, including the new lampshade, came to about $50. That’s quite a steal!

I think the color is perfect. I still can’t believe that I found the right orange in a spray paint.

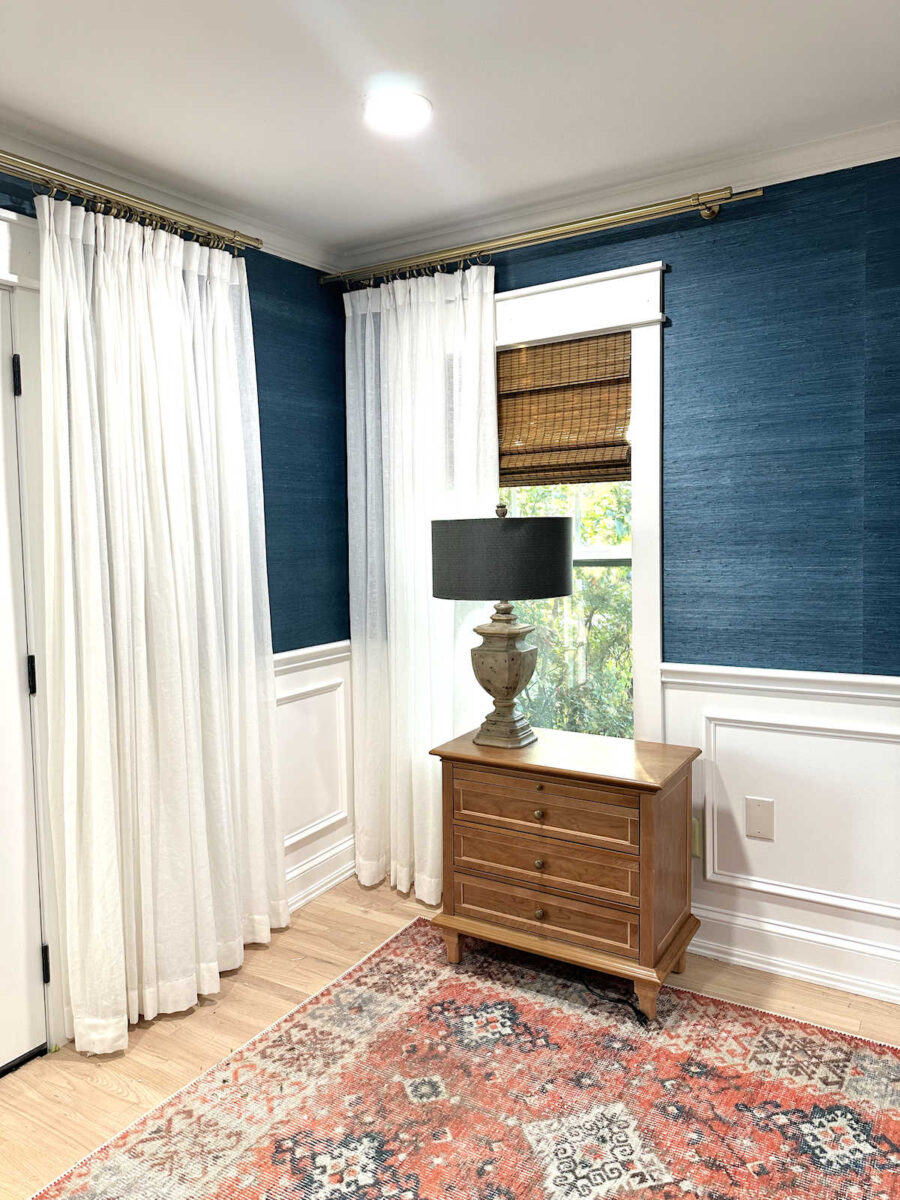
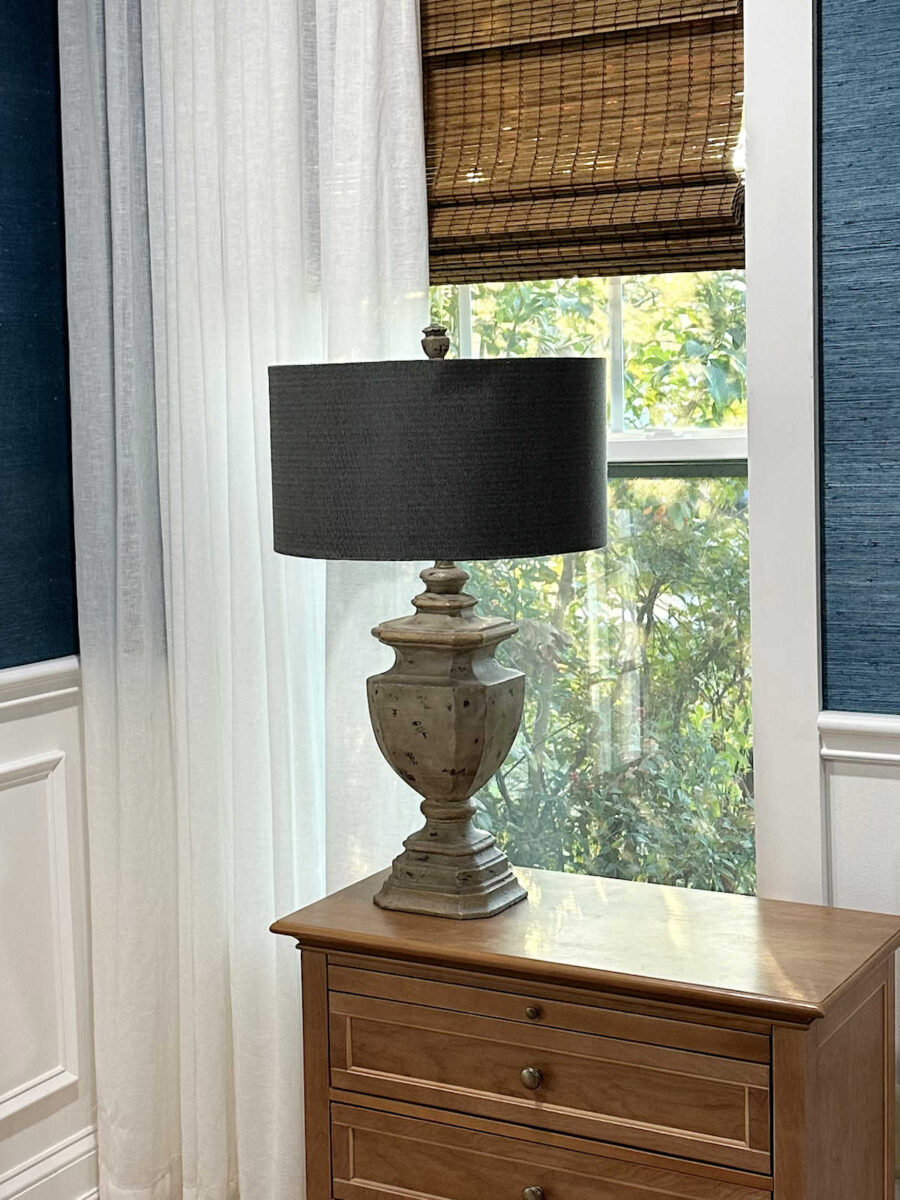
So once again, here is the lamp with its original finish and lampshade…
And here it is with its new look…
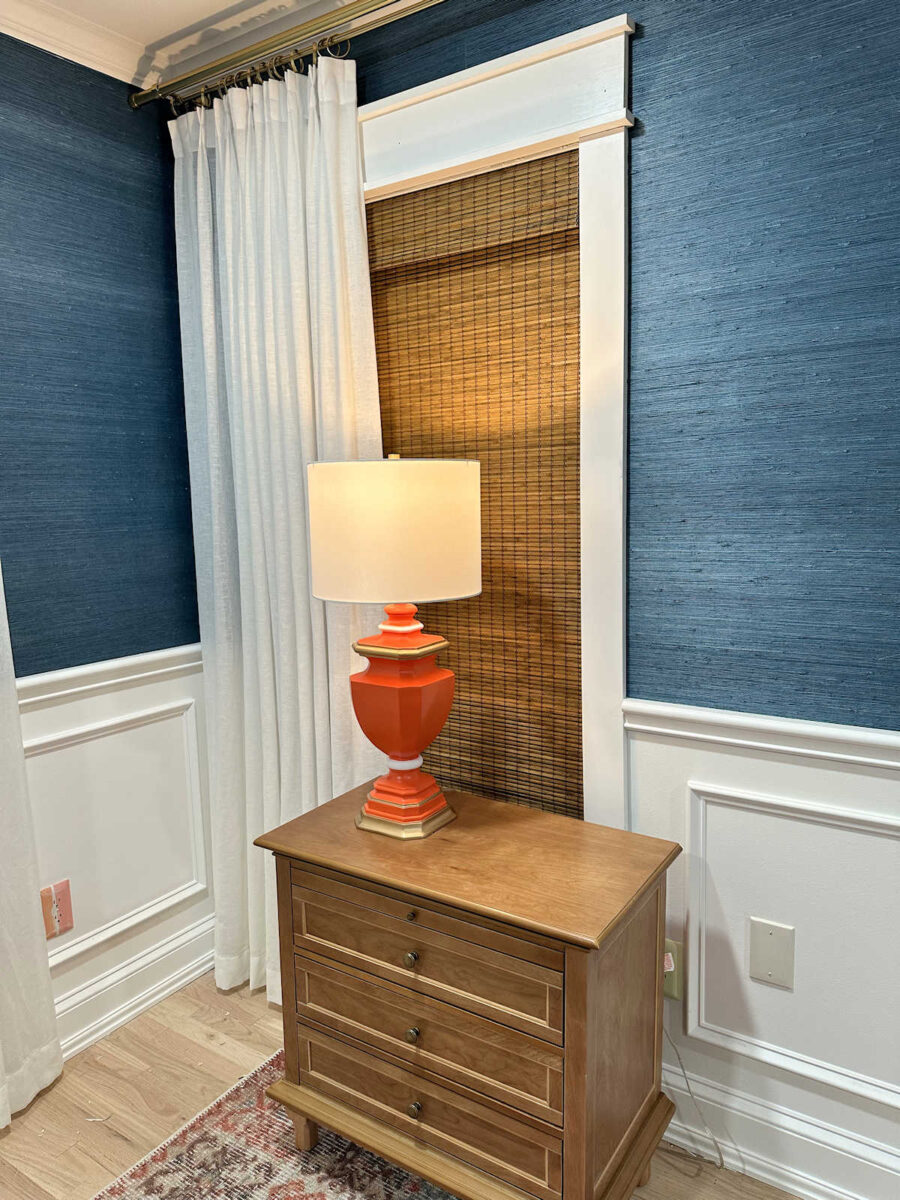
Even before the two tweaks that I want to make, I still think this is a huge upgrade from the original. Or maybe I should say that for our house, and for my taste, the “after” is a huge upgrade.
And while there’s definitely a very noticeable difference between the original lamp that I wanted and my DIY version, I think I got a very nice imitation at an $800 discount.
More About Our Master Bedroom
see all master
bedroom diy projects
read all master
bedroom blog posts

Addicted 2 Decorating is where I share my DIY and decorating journey as I remodel and decorate the 1948 fixer upper that my husband, Matt, and I bought in 2013. Matt has M.S. and is unable to do physical work, so I do the majority of the work on the house by myself. You can learn more about me here.
Trending Products