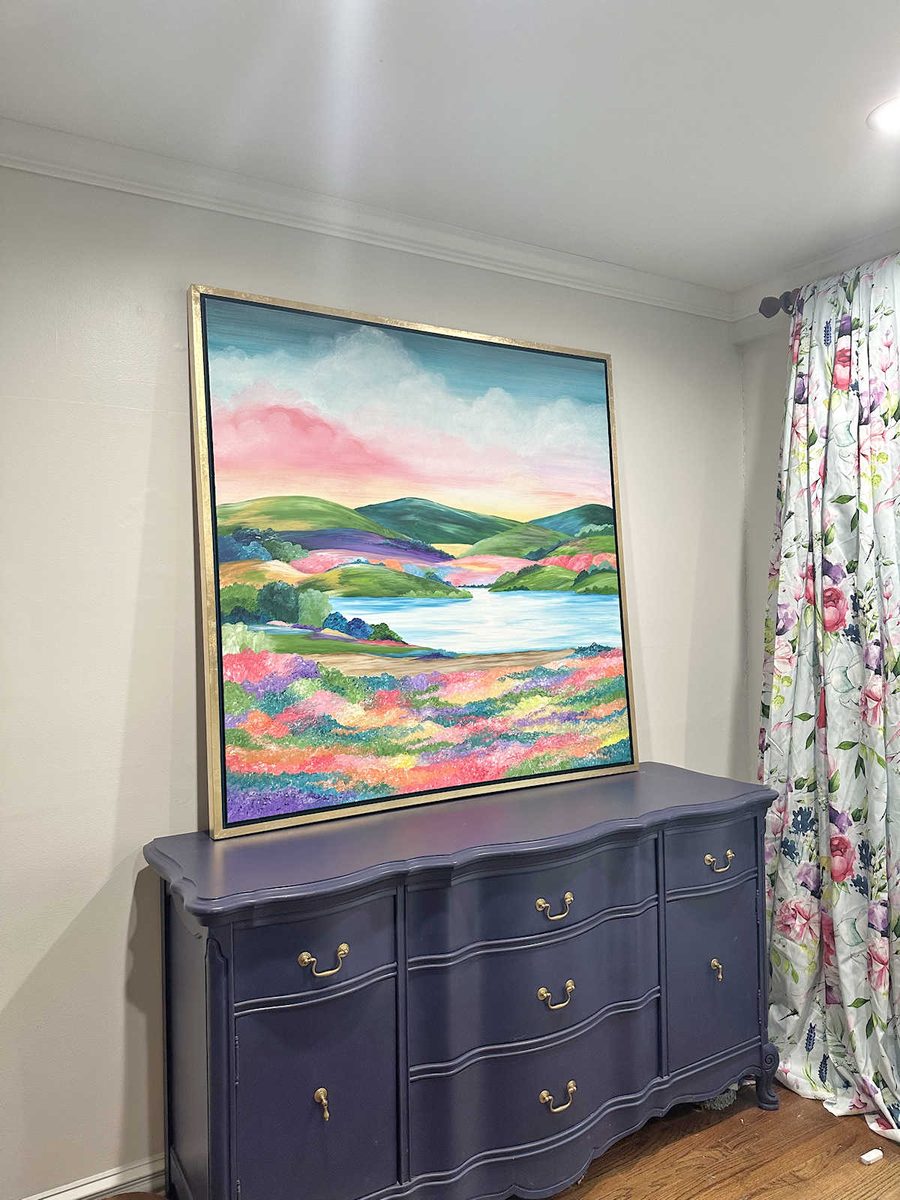
My artwork for the dining room is framed, and while I made a very simple frame for this canvas, I have to admit that it was more challenging than I expected simply because of the sheer size of this painting. It’s 48 inches square, and I’m only 60 inches tall, so it was a bit burdensome to work with.
I went with the gold frame, as most of you suggested, and here’s how it turned out…
I didn’t want to pay for such a large custom frame, so I decided to go the DIY route on this. For the main part of the frame, I used 1″ x 2″ lumber, and then to create the space between the frame and the canvas, I used lattice strips that were 1/4″ thick and ripped them down to the width I wanted (about 1/2 inch). Then I tacked that lattice strip to the lumber so that it was flush on one side, which would be the back side of the frame.
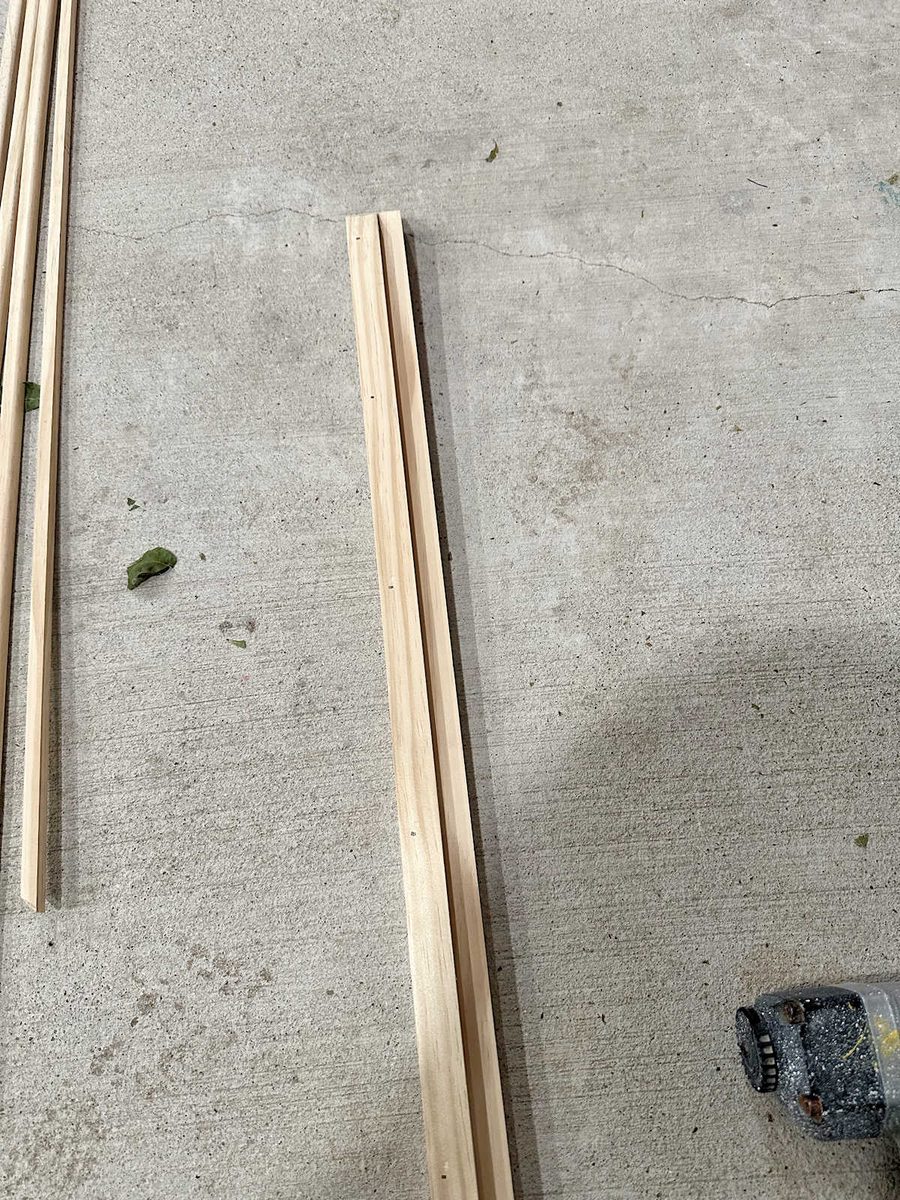
Once those two pieces were tacked together, I used my miter saw to cut the ends at a 45-degree angle.
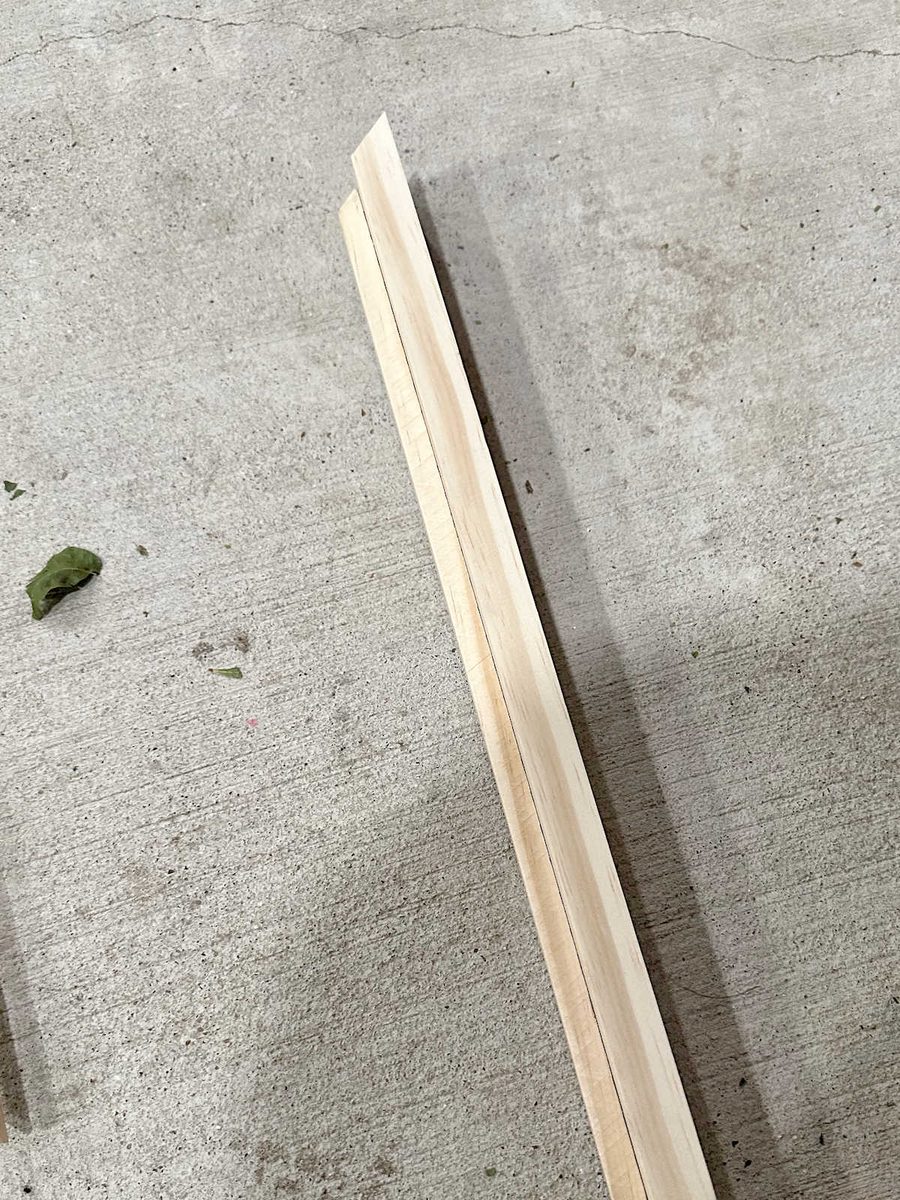
Here’s a closer view of the two pieces tacked together and the mitered end.
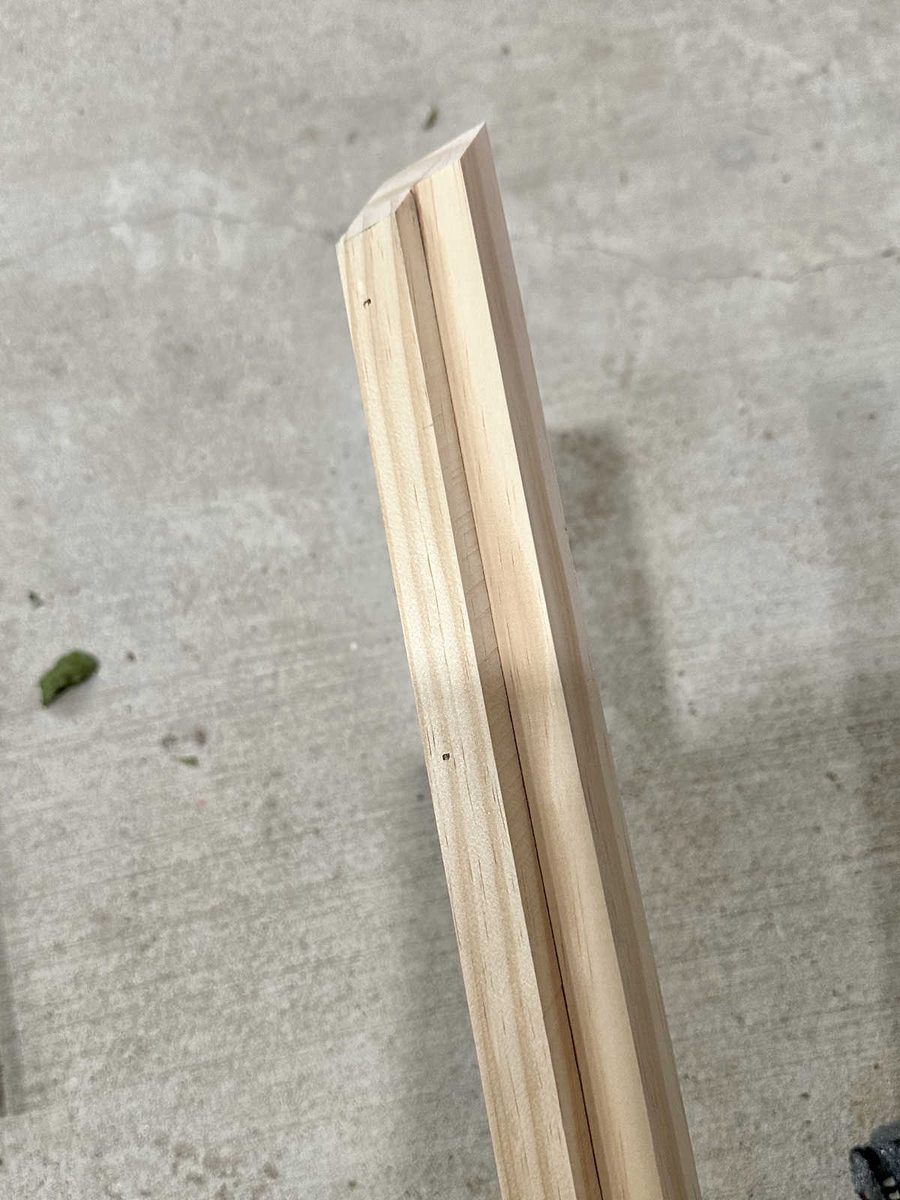
After making four pieces like that, I just nailed those pieces directly into the edge of the canvas stretcher. It doesn’t get much easier than that.
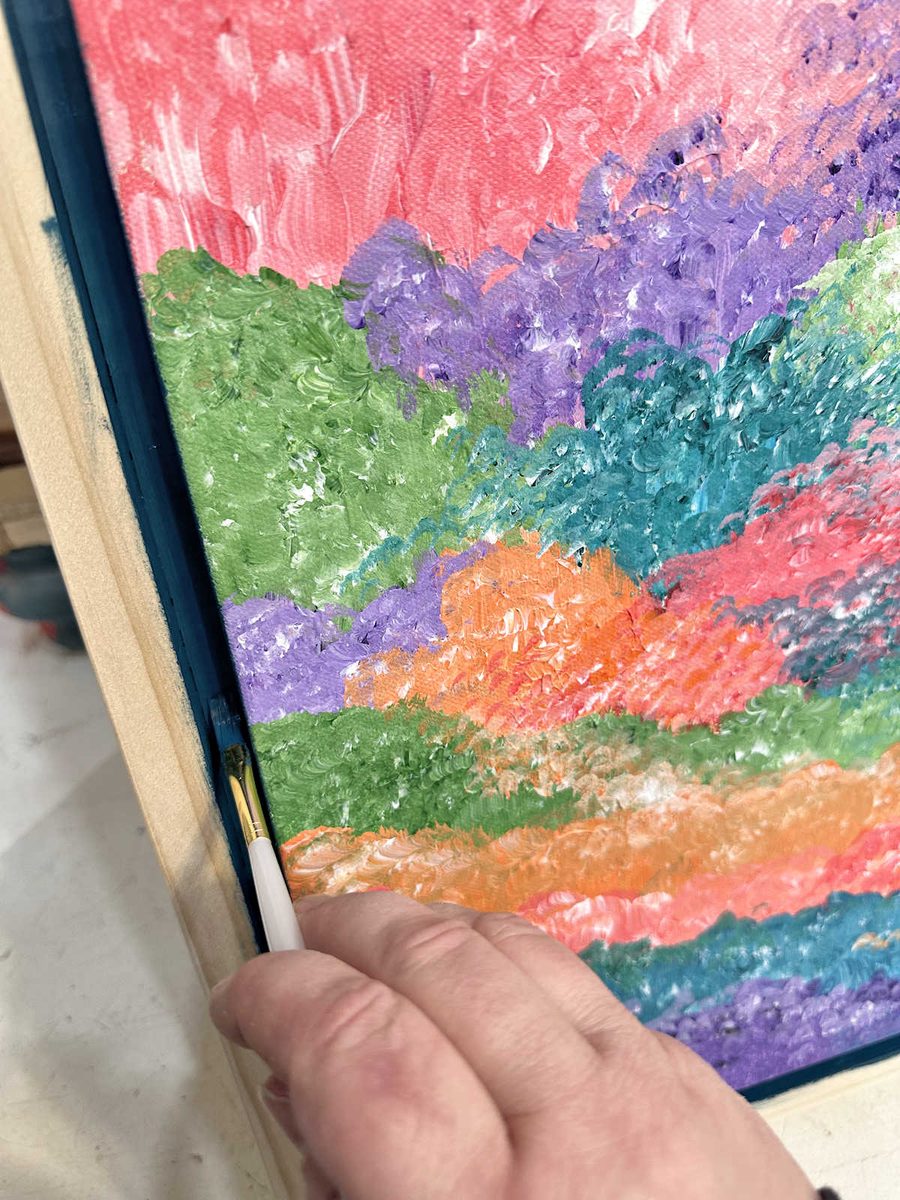
Before nailing the frame pieces to the canvas, I had painted the edges of the canvas a really dark teal color. Once the frame was nailed onto the canvas, I used a small artist brush to paint the lattice piece, as well as the inside edge of the lumber that I used for the frame, in the same dark teal paint color.
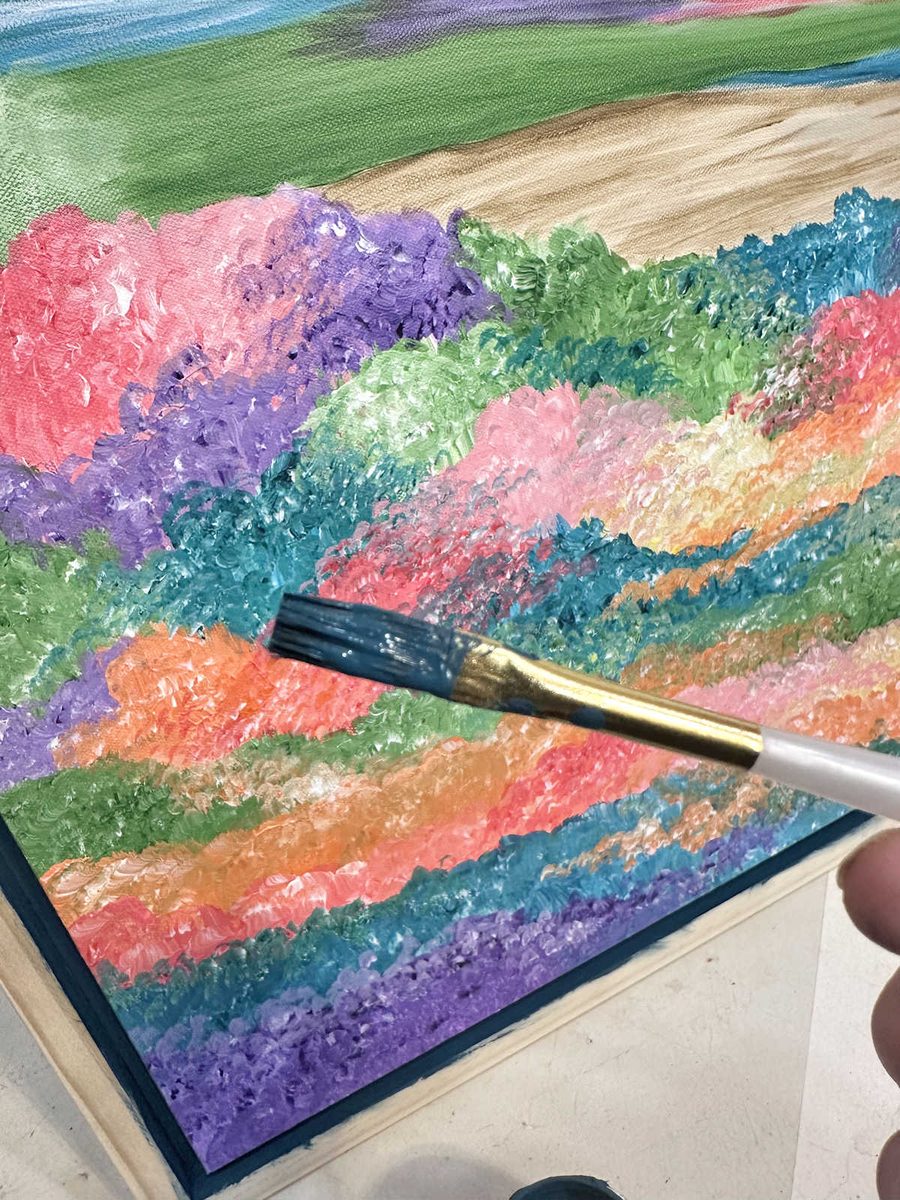
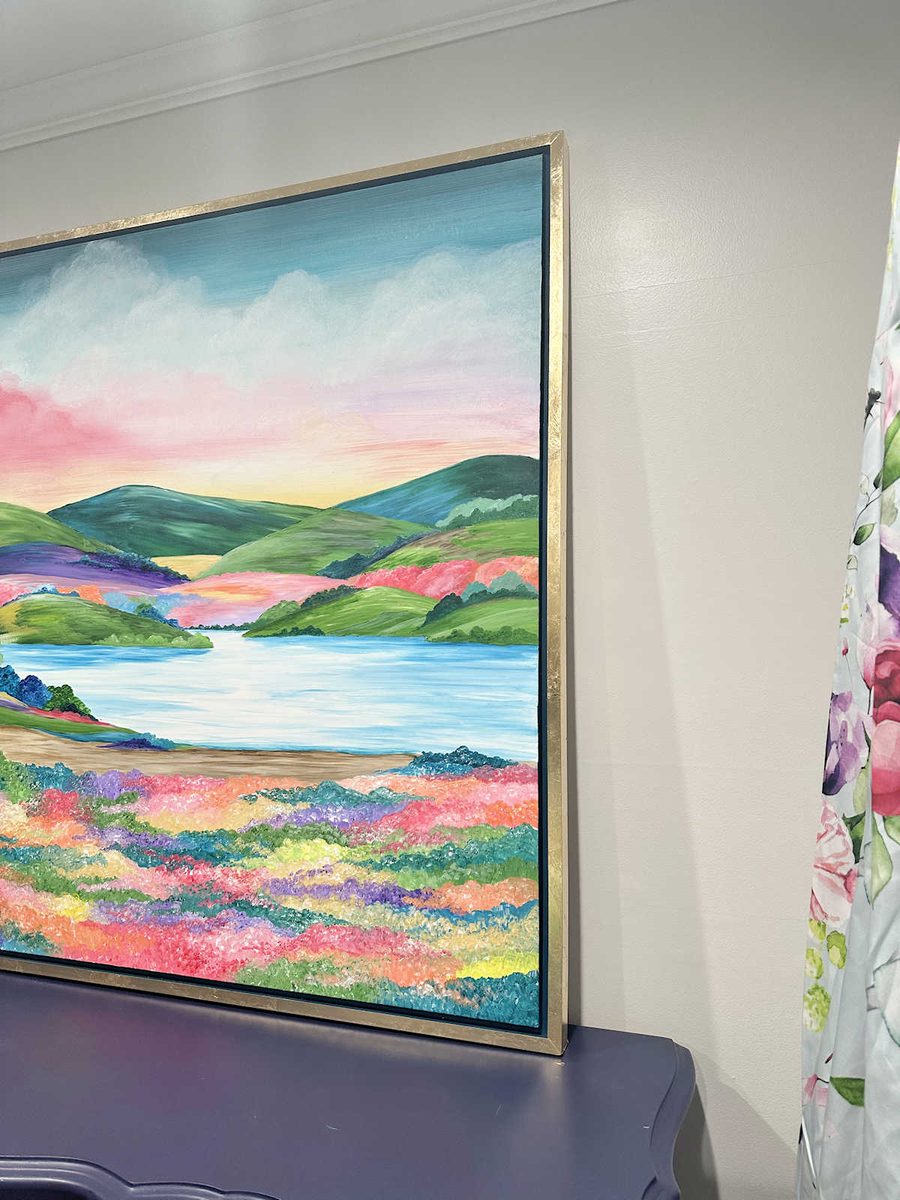
You can see that the lattice piece is set back quite a bit so that the edge of the canvas is visible. It almost gives a floating frame effect.
For the rest of the main frame, I had intended to use this Golden brand Iridescent Gold (Fine) paint, which is a really beautiful gold color. But it wasn’t quite shiny enough for me.
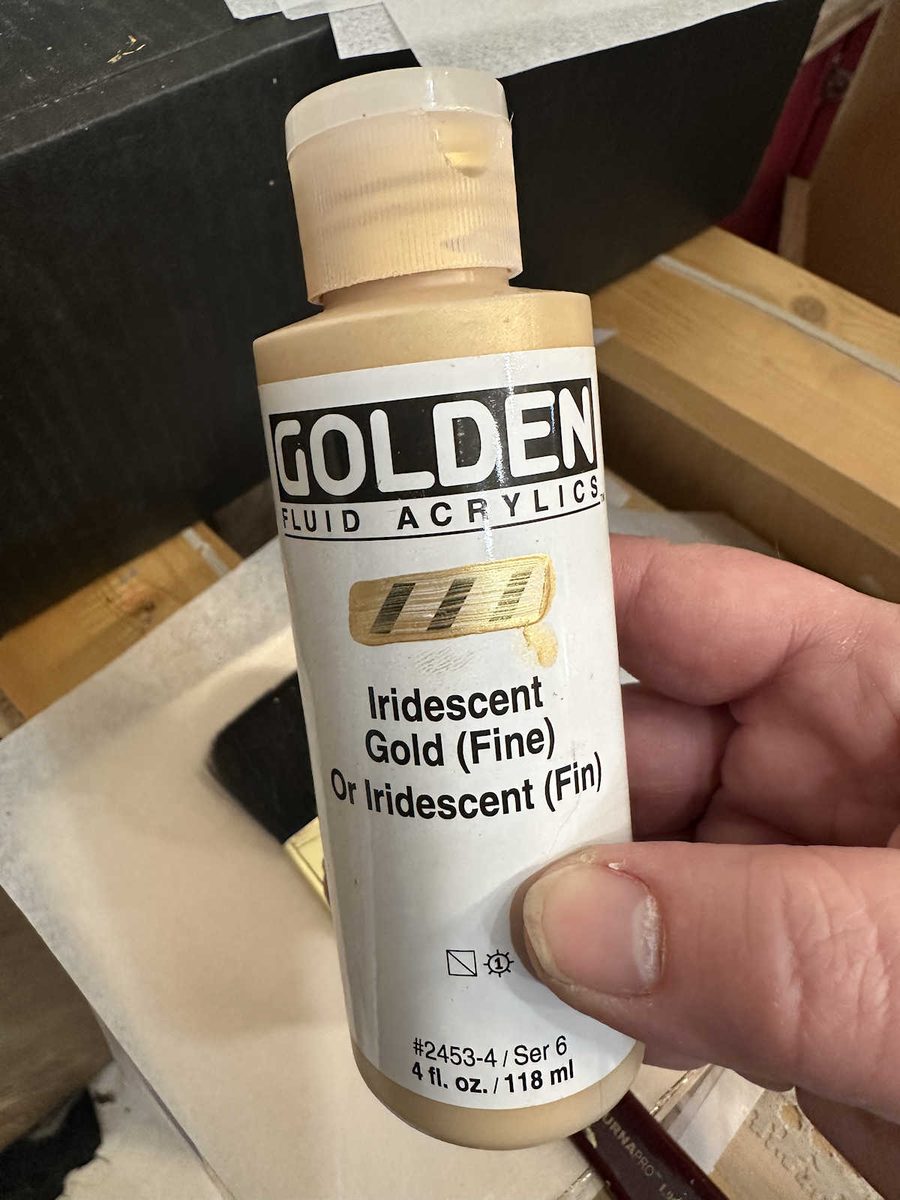
So I ended up going back over the painted gold frame with gold leaf. This is an “in progress” photo so the gold leaf looks really messy, but you can see the big difference between the gold leaf and the gold paint. Nothing compares to gold leaf.
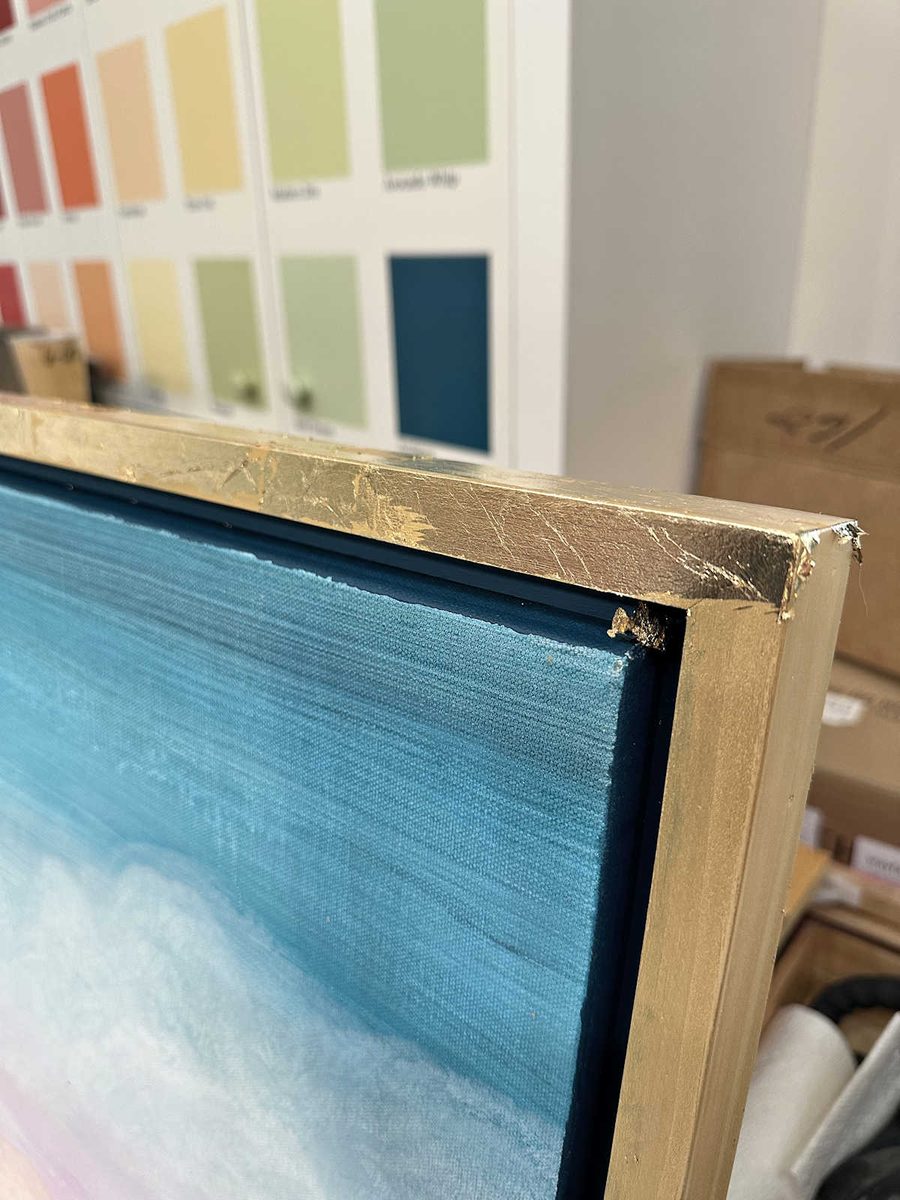
I’m really pleased with how this turned out, and very happy that I already had a lot of these supplies on hand. So my out-of-pocket cost was pretty low.
And I love the shine of the gold leaf.
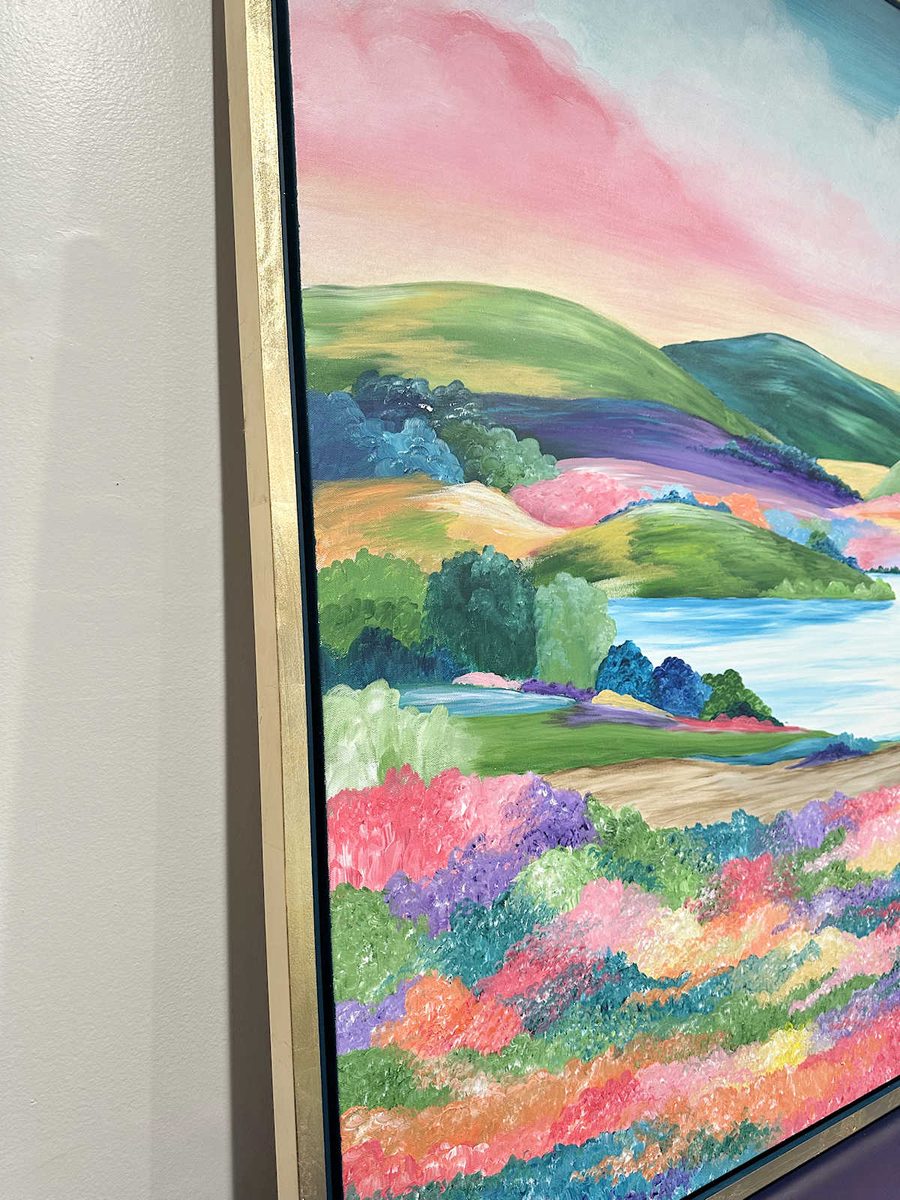
You’ll simply never get that gold shine with a painted finish.
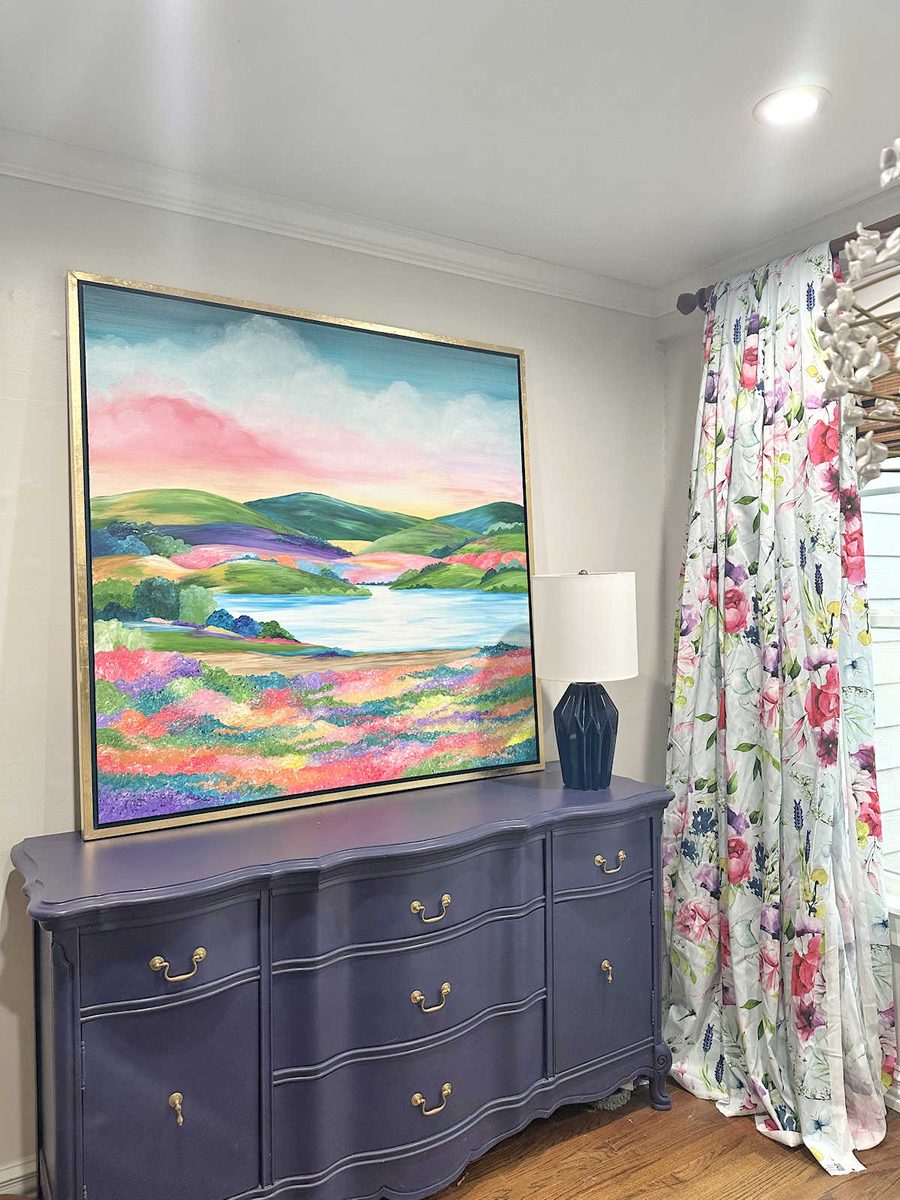
I still need to actually hang the picture on the wall, but I got sidetracked trying out lamps that I have on hand to see if any of them would work for this buffet. This is one of the lamps from our previous bedroom. I can always repaint the lamp, but I think this lamp is too small to sit next to that huge painting.
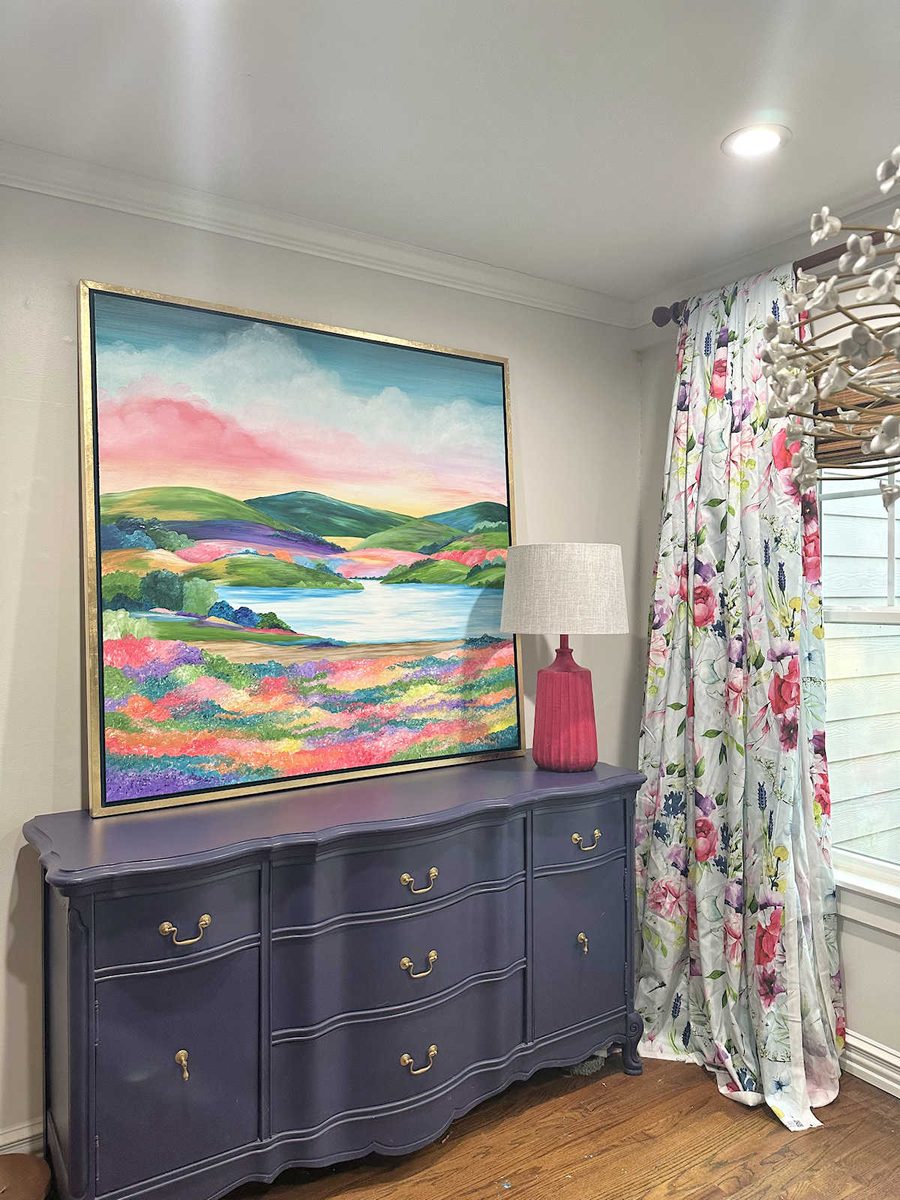
I really love this one. If you’ll remember, I originally painted two of these lamps for the entryway console table, and then I ended up only using one. So I still have this one that I could use in here.
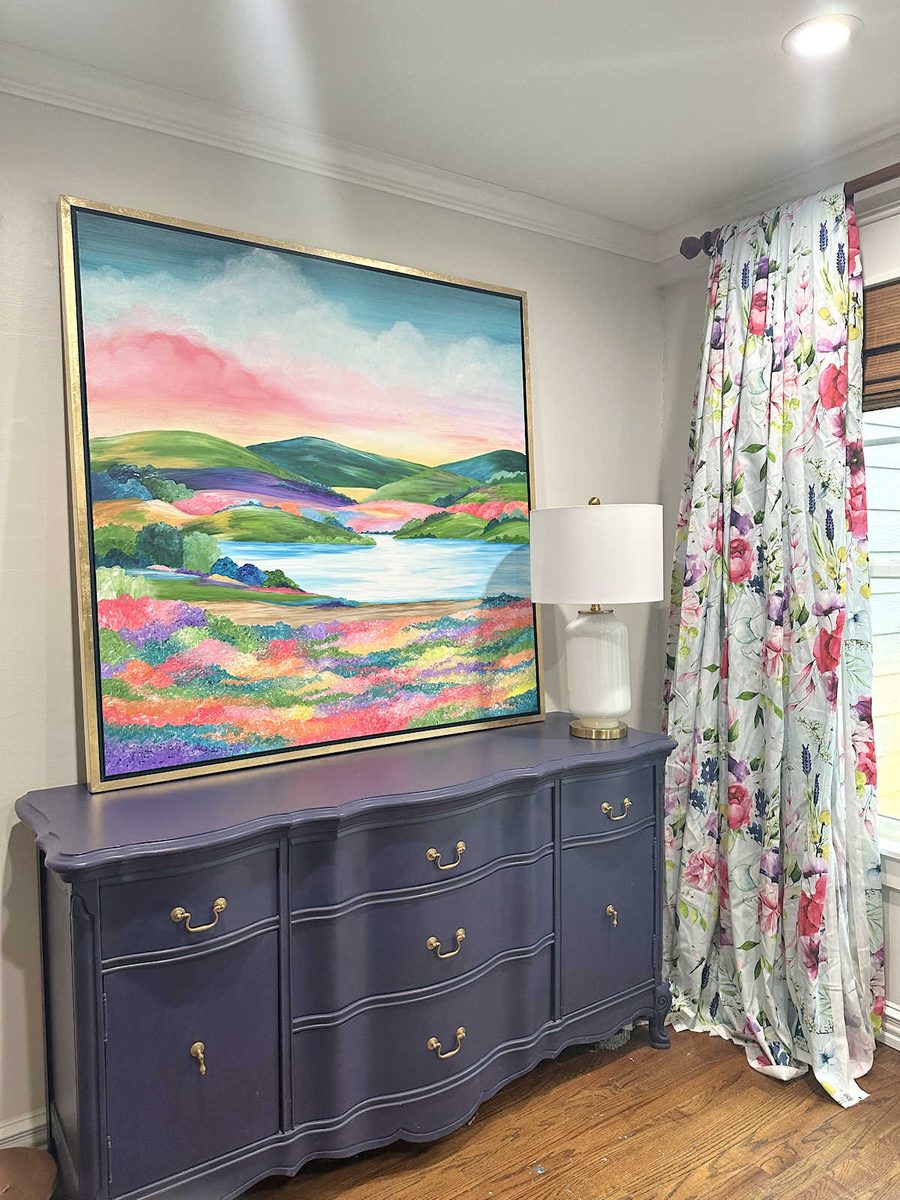
And then I have this white one. I like how the gold and white lamp looks with the gold and white flower chandelier. But I also think this looks kind of boring.
I’ll wait until I get the rest of my fabrics for the room to decide, but I think I’ll probably end up using the pink one. I’d love to use one that I already have on hand. That saves me money!
More About Our Breakfast Room
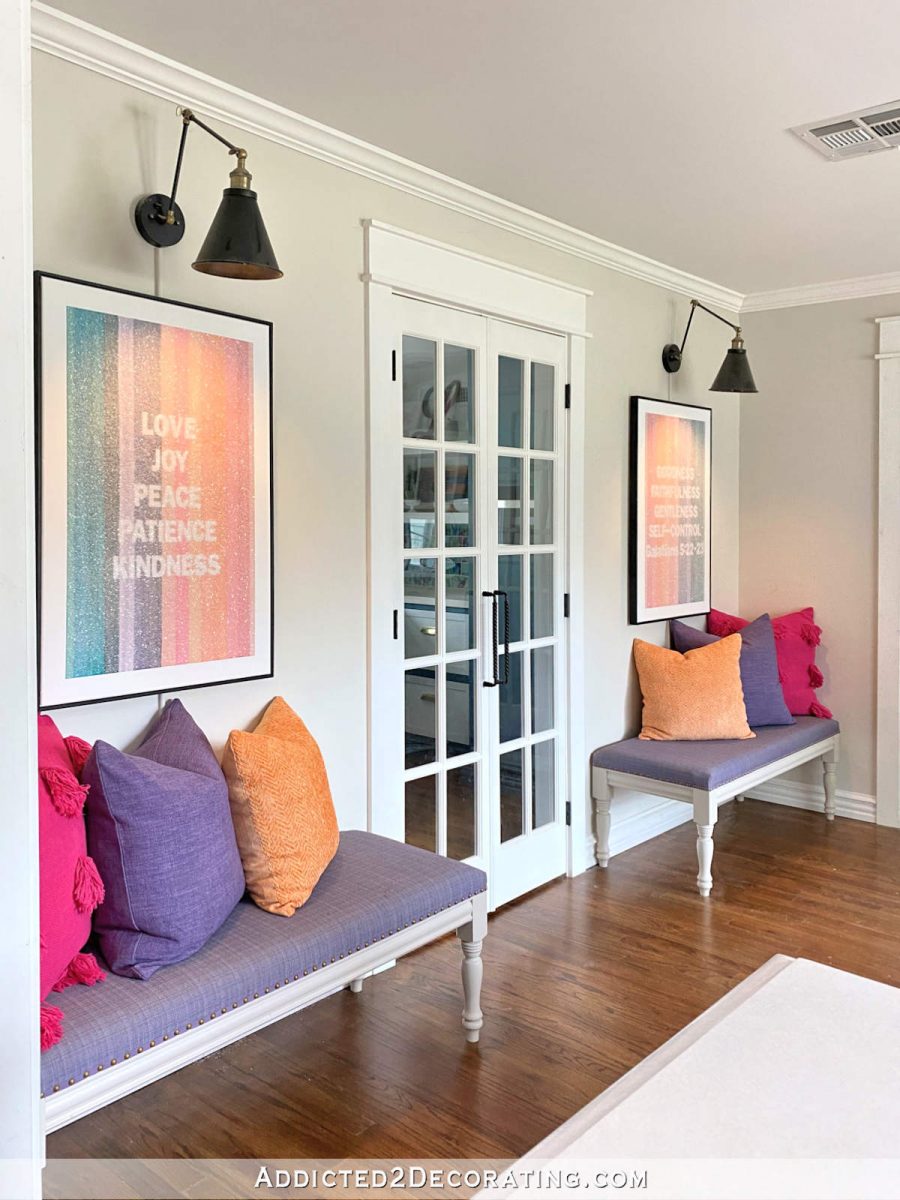
see all breakfast
room diy projects
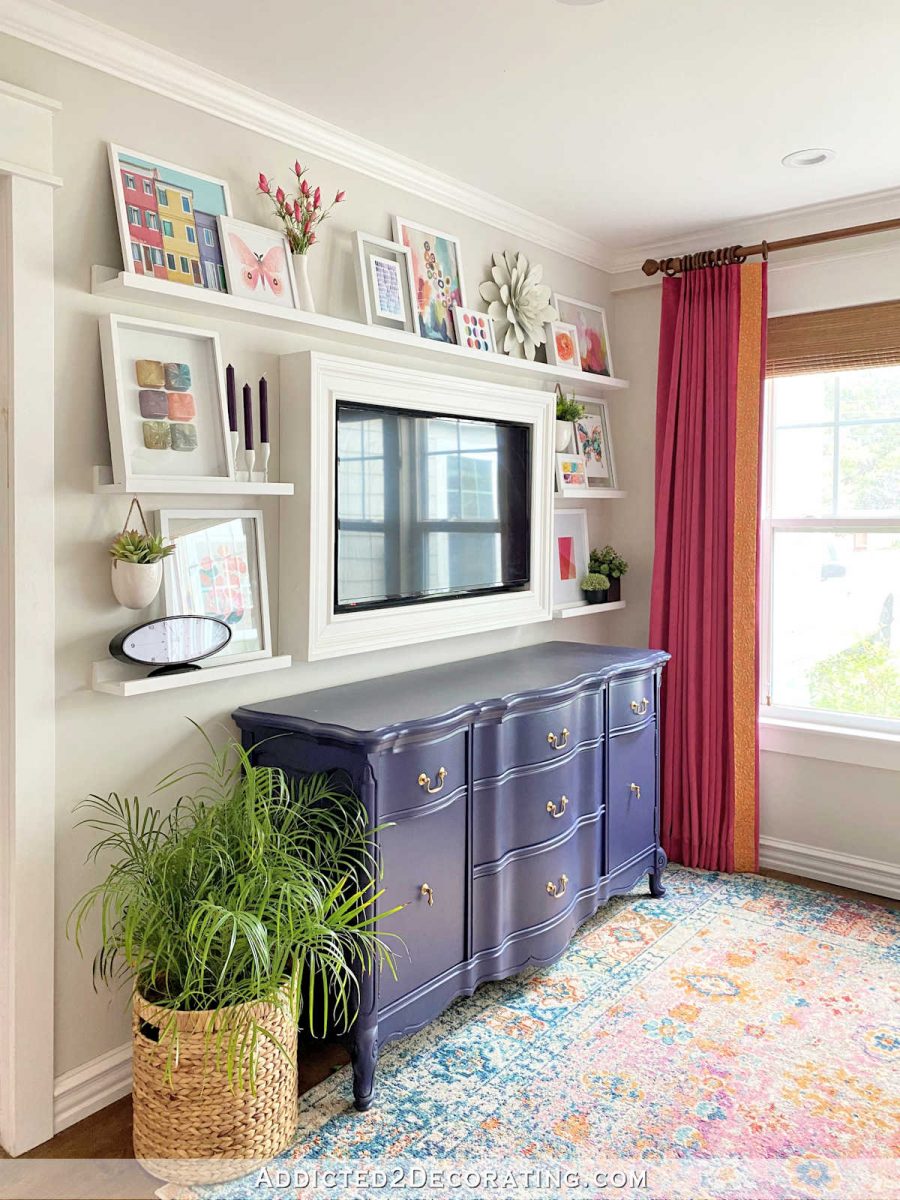
read all breakfast
room blog posts

Addicted 2 Decorating is where I share my DIY and decorating journey as I remodel and decorate the 1948 fixer upper that my husband, Matt, and I bought in 2013. Matt has M.S. and is unable to do physical work, so I do the majority of the work on the house by myself. You can learn more about me here.
Trending Products